
Lightning Web Components (LWC) is a modern JavaScript framework used to build responsive, dynamic applications on the Salesforce platform. LWC leverages web standards, allowing developers to utilize the latest JavaScript features and methodologies. Compared to older Salesforce frameworks like Aura and Visualforce, LWC is lightweight, fast, secure, and more efficient in terms of performance.
Additionally, LWC components are highly reusable and integrate seamlessly with other Salesforce components. One such component is the lightning map, which enables developers to display a map with markers for one or more locations within Salesforce. This blog will walk you through a simple Lightning Map LWC example and explain how to integrate maps into your Salesforce apps.
The objective of Integrating Maps into Lightning Web Components
Integrating maps into Lightning Web Components (LWC) enhances the user experience by enabling real-time geospatial data visualization directly within Salesforce. With the lightning-map component, developers can seamlessly display location markers, improving customer insights, field operations, and sales analytics.
This integration helps businesses leverage geolocation data for smarter decision-making and better workflow automation. By combining LWC with geospatial intelligence, organizations can unlock powerful location-based features in their Salesforce applications.
- Guide Salesforce developers in easily integrating maps into Lightning Web Components using lightning-map.
- Provide a step-by-step tutorial for seamless implementation.
- Explain what the lightning map component is and its real-world applications.
- Help developers enhance user experience and streamline workflows with dynamic map functionality.
- Encourage exploration of lightning map customization options for tailored solutions.
What is a Lightning Map Component?
The lightning-map component in LWC displays a map with markers for one or more locations within Salesforce. It uses geocoding data to position markers on the map, and it allows developers to:
- Display single or multiple locations on the map.
- Pinpoint specific location(s) with markers.
- Show addresses, descriptions, and additional information for each marker.
Although the functionality may seem complex at first, the lightning-map component relies on Google Maps under the hood, making it highly reliable for accurate geographical data. This component is ideal for applications where users can visualize geographical data, such as customer locations, office branches, delivery addresses, and more.
Getting Started with the Lightning Map: A Simple Example for Displaying Locations and Markers
You might think that using the lightning-map component is complicated, but it’s actually quite simple. In this example, we will create a Lightning Web Component that:
- Displays a map centered on a specific location.
- Adds markers for multiple addresses.
- Displays details like title and description when clicking on a marker.
Step-by-Step Guide: Lightning Map LWC Example
In this step-by-step guide, you can check the process of integrating the lightning-map component into a Lightning Web Component (LWC). You’ll learn how to display location data, add map markers, and show detailed information when interacting with the map.
This tutorial provides hands-on instructions to help Salesforce developers enhance their apps with interactive geospatial features and optimize the user experience with dynamic mapping.
Below are the following steps:
First, let’s create a new Lightning Web Component called navigationMap in Visual Studio Code.
Step 1: Open VS Code and create a new component:
Step 2: Open the newly created navigationMap component folder. You will be working with two files:
navigationMap.html and navigationMap.js.
Your component is ready.
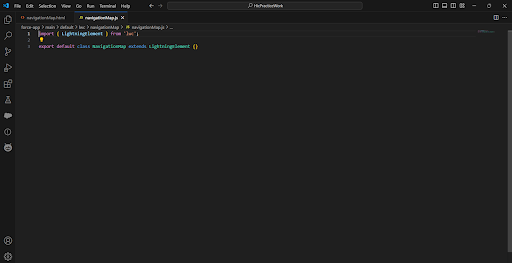
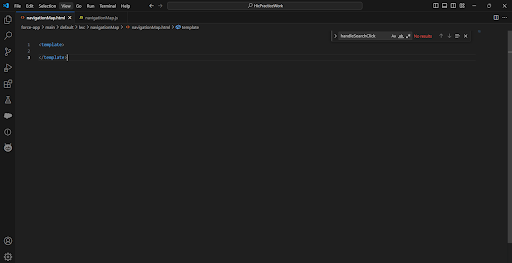
Step 3: Import the navigation map into the Salesforce Lightning Web Component Lightning Web Component.
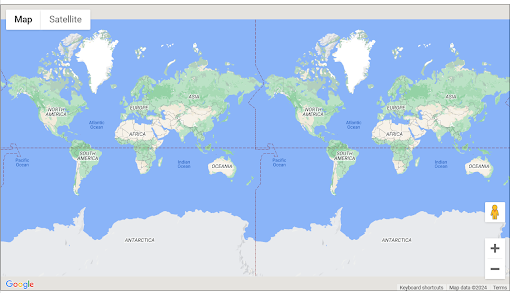
You’ll notice immediately that the component is visible wherever you put it, in our case it is an app page.
Step 4: Provide a static location to check if the marker is being placed on the map according to our data or not.
Add the street, city, and state shows the marker on the map.
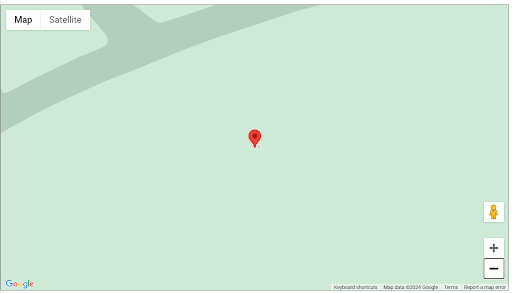
Simple, isn’t it? But if it is simple then why stop here? Let’s have some fun with this component.
Let’s add more functionality to it, starting with getting the data from the lead.
Step 5: Create an apex class for the processing of the data, and name the apex class mapLeadAddress.
Step 6: Add the below code.
In the above code, we are adding the parameter into the final query that will be used for getting the data.
Step 7: Add a filter screen which will be used to fetch the map data according to your needs. For that add the code below to make a simple filter screen.
It will look like this.
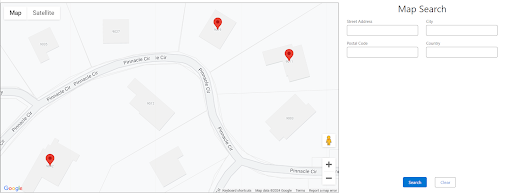
Step 8: After you deploy your apex class and the HTML page of the component you can then import that class into the lightning component, and create a function that will process the fields you have filled and call the apex class for the data.
You can always use console.log to see your data in the browser inspect window.
Step 9: Make a query that you will pass to the apex class for processing and then call the apex class with the same parameter to get the data.
Step 10: Now, you can map the response data with the lightning map so it will show the user markers on the map, you can do it by making sure that the mapmarks variable is holding our data, for that we will map the response we got according to our data.
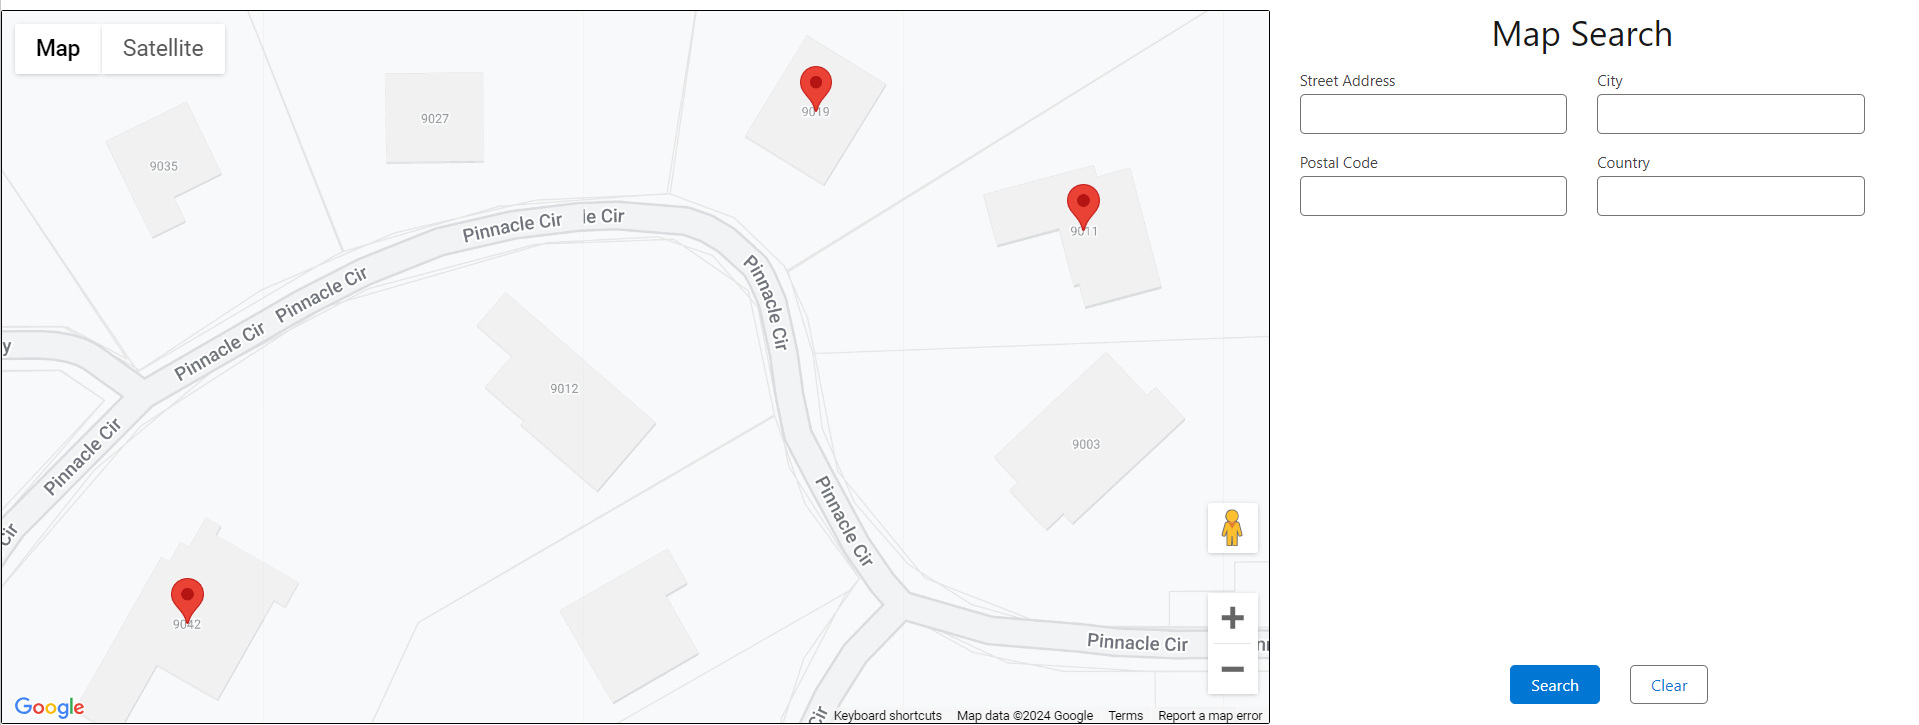
If you are following the steps then you will get the response perfectly, and your map will show the data properly.
Till here you have a working lightning map that gets the data from the Lead Object and shows you the marker on the map.
Isn’t it awesome how easily you see your lead address on the map, it will be even better if you can view specific record markers and all the details that are present in the salesforce org.
Also, you can do some of these steps separately like us or make the same component that will do it, following our steps will mean that the cards that will be shown for the information will be a different LWC.
Step 11: Like the first step, use this below line to create a new LWC component.
Add this code to the new component.
mapAddressDetailCard.html
mapAddressDetailCard.js
mapAddressDetailCard.css
Step 12: Make some changes in our previous component as well.
lightningMapDemo.html
lightningMapDemo.js
lightningMapDemo.css
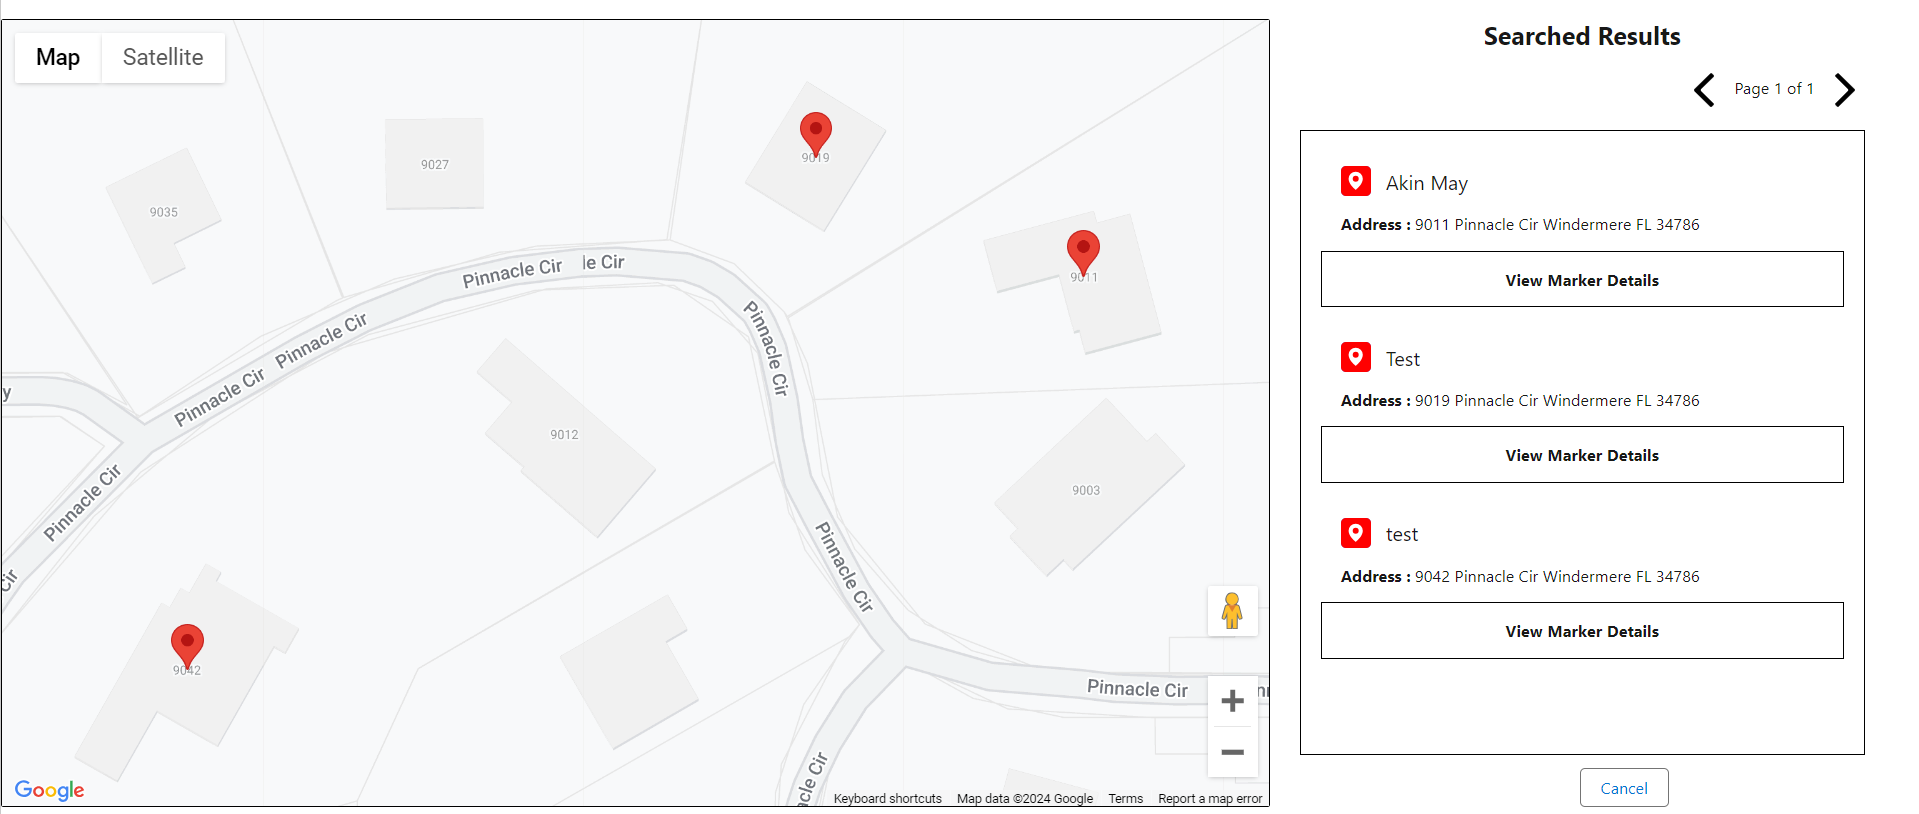
Step 13: That’s how you will have a working card and when you click on that card you will see information about that lead.
Step 14: Click on the view marker details or directly on the marker to see the lead details.
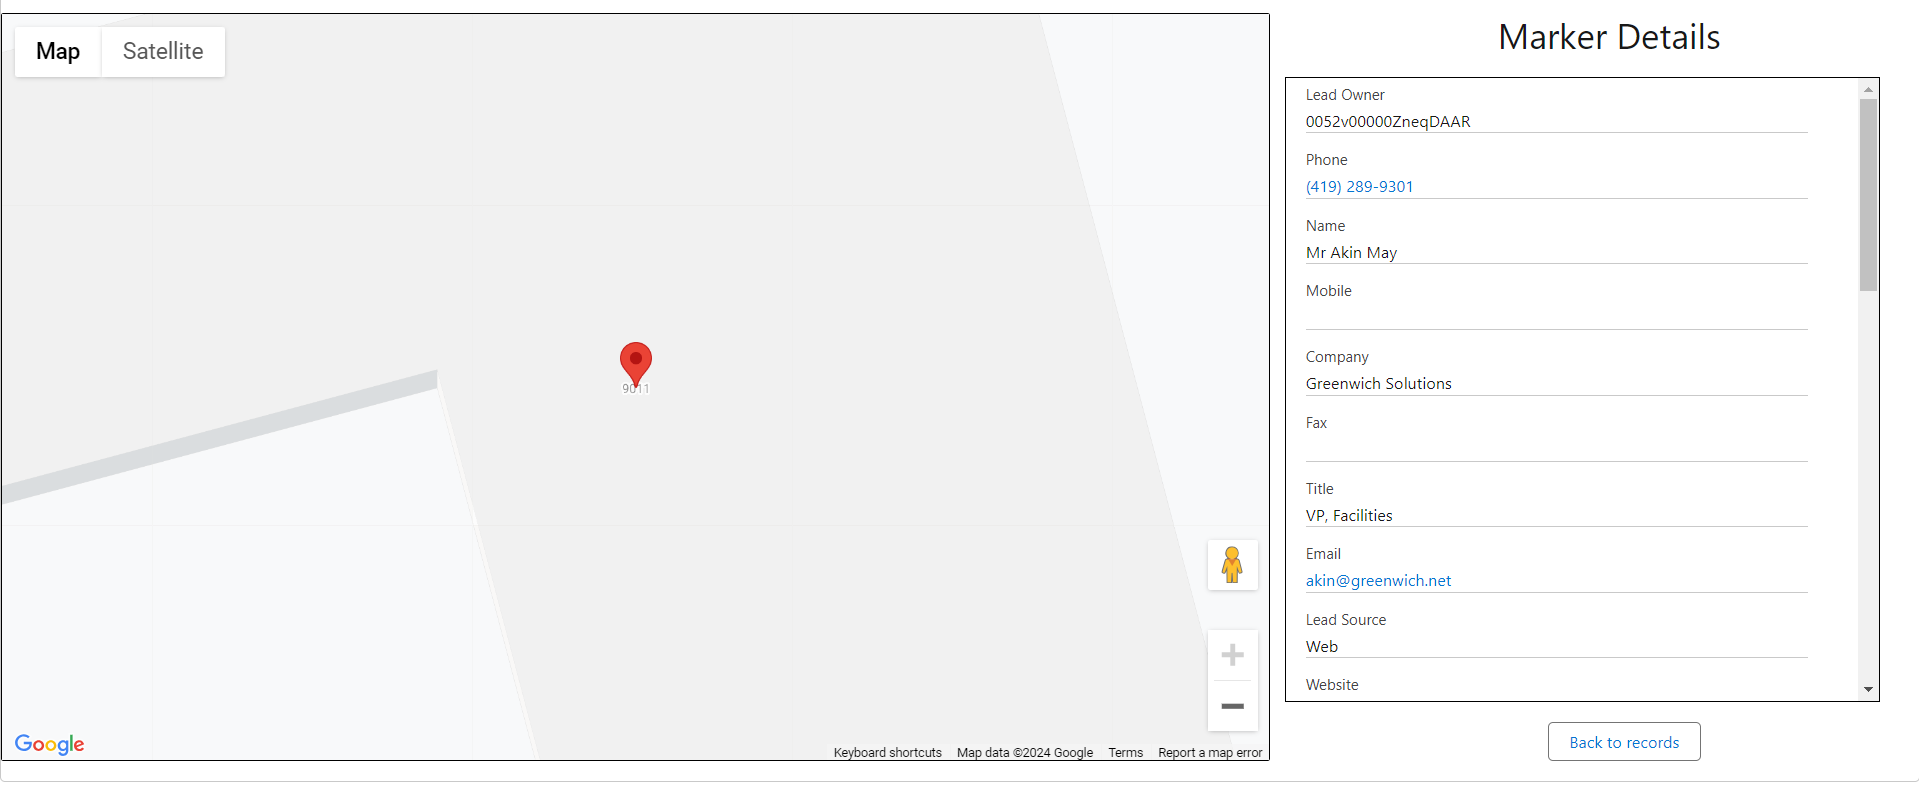
Step 15: You can customize it even more, add more fields to search, or show all data and then filter the specific data. Customization is also possible, making cards more colorful or popping them more.
Express Your Lightning Map: Displaying Data on a Dynamic Map
Whether you’re composing a new Lightning App Page or enhancing an existing component, simply drop in the navigationMap component to bring geographical visualization to your Salesforce app. Adjust the navigation map attributes to customize the map display as per requirement, and watch as it shows your data with precise markers and locations.
Conclusion
Understanding the capabilities of the lightning-map component is essential for leveraging its full potential in Salesforce. By identifying the right use cases, you can harness this component to enhance your applications with interactive, location-based data visualization.
As you continue to develop and improve your Salesforce application, integrating Lightning Web Components (LWC) with dynamic map functionality will provide a whole new dimension to visualize and interact with data within your Salesforce org, enriching the user experience and streamlining workflows.