
Ensuring a proper workload balance and quick follow-ups from internal or external team members, leads, opportunities, or task distributions is crucial. To achieve this, all you need is a Round Robin assignment.
In this step-by-step guide, we will walk you through the process of implementing a round-robin assignment in Salesforce using Apex. Here, we’ve used the lead object; however, you can use it for any object. You can choose a suitable object for the Round Robin assignment based on the use case.
What is Round Robin Assignment?
Round Robin assignment is a method where each item is assigned to team members in a cyclic order. This ensures that every team member gets equal items, promoting fairness and efficiency.
In this implementation, we will utilize a checkbox on the user object. This checkbox will indicate which users are eligible for assignments. After setting up the checkbox, we will write a custom Apex trigger to implement round-robin logic. It ensures that records are evenly distributed among eligible users systematically and cyclically.
Step-by-Step Guide to Implement Round Robin in Salesforce
Steps you should follow to implement Round Robin in Salesforce
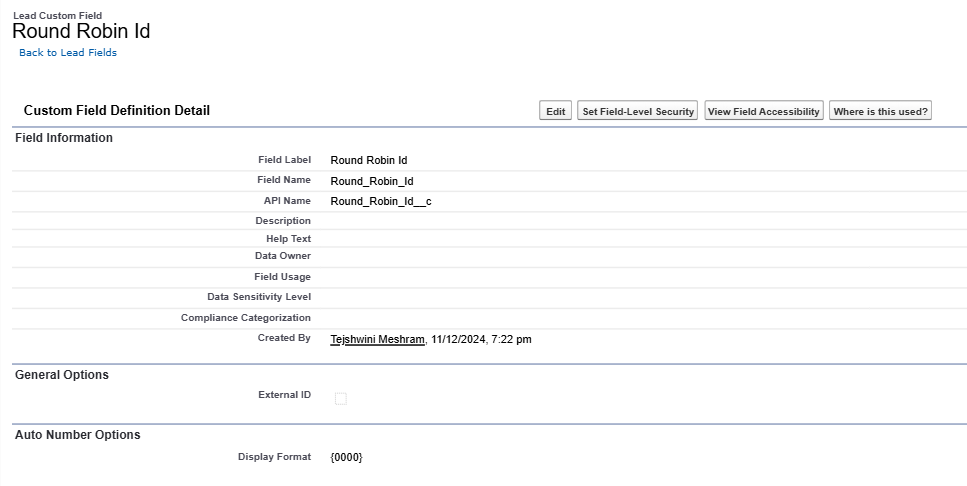
1. Create a Custom Field for Round Robin Assignment
Create a custom field on the target object to store the round-robin assignment number. This field will be used to manage and track the distribution of assignments.
In this blog, we are using the lead object for this, But you can use it for any object.
To create the field follow the below steps
- Open Setup.
- Search for Object Manager, and open it.
- Click Lead.
- Click Fields & Relationships.
- Click New Select Autonumber
- In Display Format, enter {0000}
- In Starting Format, enter 1
- Click Next and do not add this field into Layout and Click on Save.
2. Creating a checkbox for the User
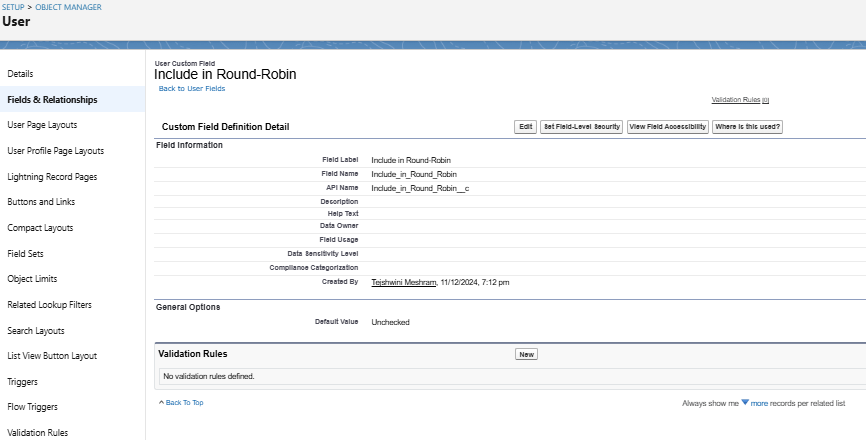
We are creating a checkbox Field on the User object to identify which users need to be included in the round-robin assignment.
Create a Custom Checkbox Field
- In the User object, click on Fields & Relationships.
- Click on the New button.
- Choose the Checkbox data type and click Next.
- Enter the Field Label (Include in Round-Robin).
- Add the field to the desired page layouts and click Save.
Mark Users for Round-Robin Assignment
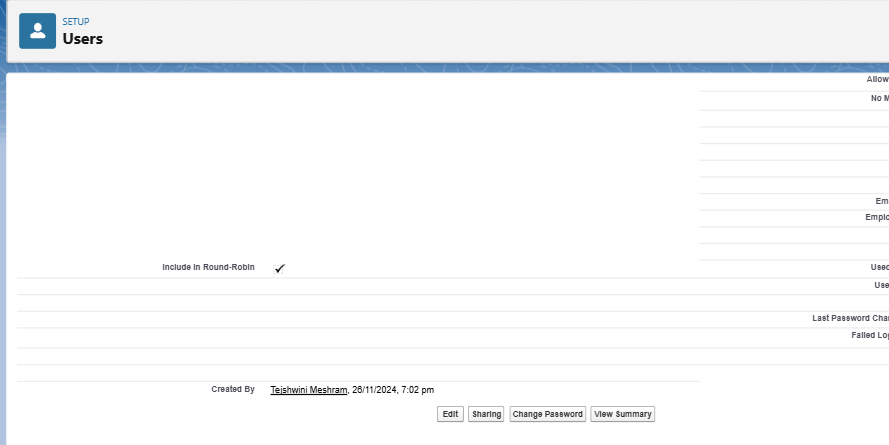
- Navigate to the User records you want to include in the round-robin process.
- Edit the User record and check the Include in Round-Robin checkbox.
- Save the changes.

3. Write the Apex Class for Round Robin Assignment
We will create an Apex class that implements the Round Robin assignment logic. This class will:
- Retrieve a list of active users to whom leads will be assigned.
- Assign leads to users in a cyclic order based on the Round Robin Number, which is a field created on the objects.
Here’s the Apex class:
In the above code, the Math.mod() function calculates the modulus of the record number divided by agents. This determines the position (or index) in the agent list to which the record will be assigned.
4. Call this Apex Class from a Trigger
We will call the Apex class from a trigger and pass the required parameters.
In this case, I am using it from the Lead object, but you can use the following code for any object in Salesforce by customizing the object and field references to suit your specific use case.
Test the functionality
Finally, test the functionality by creating multiple records. These records will be assigned to available users using the Round Robin algorithm.
Here is a demo for the Lead object.
https://youtu.be/LhO_f0PC-44
Conclusion
Implementing a round-robin assignment in Salesforce using Apex ensures that leads, cases, opportunities, or tasks are distributed evenly among team members, promoting efficiency and fairness.
Hope this guide was helpful to you! Stay tuned for such informative blogs.