




We are back with another Salesforce development solution for all the developers out there. In today’s issue, we will share how you can edit, delete and create Lightning record page tabs in a step-by-step guide.
So, without any delay, let’s get started!
1. To Change position or delete a tab on the record page tab:
Step1. Go to the record page of the object and click on the spiral icon on the top right of the page next to the profile.

Step 2. Click on the spiral icon and then go to the edit page.

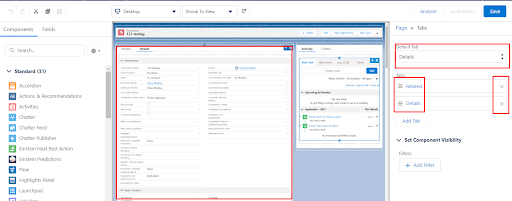
Step 3. After that, you will be redirected to the record edit page now select the area which you want to edit in our case click on record details, and for order like which tab to appear first, we just have to name the tab in the right corner under the default tab dropdown. If you want to delete a tab just click on X on the right side of the tab and to change the order of the tab just click on icon and drag it up and down.
2. Add New Tab:
Step1. Click on Add tab on the record edit page.

Step 2. Select the type of tab which you want to create in our case we need a custom tab so we click on custom and name the tab.

Step 3. If you want a standard tab the data will automatically be filled just click on save and it will be done. But in our case, as we are adding custom action so we have to drag the component from the left side of the page to the tab. To add action to the page we need to drag related records.

Step 4. After adding the related record add a name to the component you added from the right panel

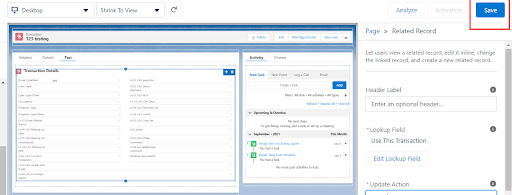
Step 5. Choose which action you want to add to that tab from the update action drop-down on the right panel all the update actions on that object will be visible there.

Step 6. After selecting the action click on the save button in the top right corner.
3. To Create Update Action:
As the custom tabs on the lightning record page are quick actions here is the way to create new actions and you can add them to the record page as mentioned above.
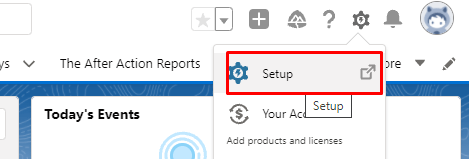
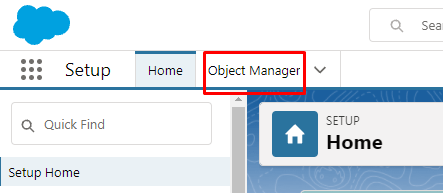
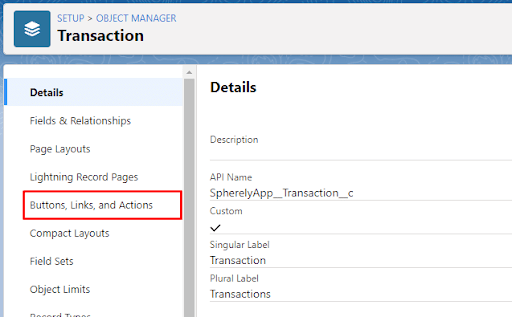
Step 1: Go to setup and then click on object manager then click on object name and go to Buttons, Links, and Actions (In lightning ).
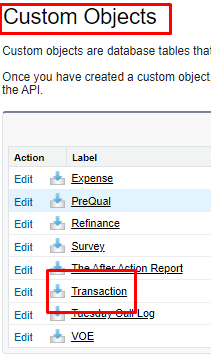
If it is a standard object type name of the object in the quick search box and under that object, name Go to Buttons, Links, and Actions. If a custom object go to Create > objects and you will see custom objects click on your custom object scroll down and you will see a tab for Buttons, Links, and Actions.
1. For Lightning:

2. For Classic


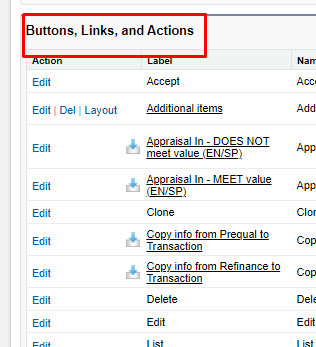
Step 2. Click on the new Action button.

Step 3. From Action, type drop-down Select Update a record and fill name and label for the action and click save.

Step 4. Drag all the fields you want on the action down and click on save.
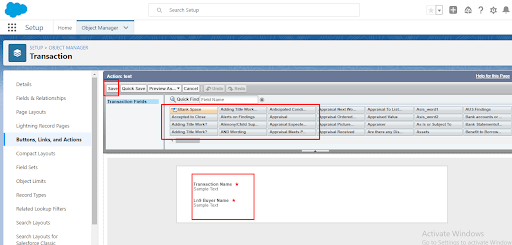
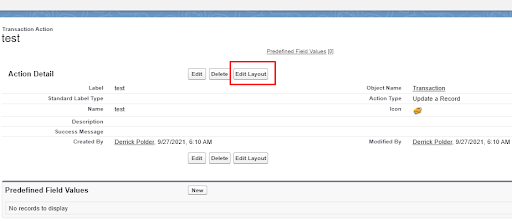
Step 5. If you want to change the fields after you can just click on edit layout to add or remove fields from the action.
Conclusion
Following this step, you can edit, create and delete Lightning record page tabs and customize them as your want. Feel free to try out the solution and share your feedback with us. Catch you at the next one. Till then, Happy learning!





