

In Salesforce, a custom user interface element made with the Visualforce framework is known as a Visualforce page. It enables web page interaction with Salesforce data and features by developers. The Salesforce platform allows users to browse and view Visualforce pages, which are developed using a markup language similar to HTML.
Crucial Visualforce Details in Salesforce
- Custom UI: Visualforce pages create custom user interfaces, presenting Salesforce object data to meet business needs.
- Markup Language: Similar to HTML, Visualforce markup contains Salesforce-specific elements for data and functionality.
- Component-Based: Visualforce uses reusable components for complex layouts and functionality, promoting effectiveness.
- Data Binding: Connect UI elements directly to Salesforce data without extensive code in Visualforce pages.
- Controller Logic: Pages can have controllers (user-created or pre-built), handling data retrieval, modification, and Salesforce communication.
In today’s blog. We will share everything you need to create Visualforce pages in Salesforce. Here we go!
Methods used to create a Visualforce (VF) page in Salesforce:
- Enter your Salesforce login information.
- To access the Salesforce setup, click the gear icon in the top-right area and choose “Setup.”
- Under “Build” in the settings menu on the left-hand side, click on “Develop,” and then choose “Pages.”
- To create a new Visualforce page, select the “New” button on the Visualforce Pages page.
- In the “Label” area, type a meaningful name for your Visualforce page. The page in Salesforce will be referred to by this name.
- Write the markup code for your Visualforce page in the “Markup” section. Use Visualforce tags, HTML, and CSS to specify your page’s structure and design.
- For your Visualforce page, you can optionally provide a controller or controller extension. The logic and data needed for your page are provided by a controller. Depending on the object you want to work with, you can either create a unique Apex controller or utilise a standard controller.
- By selecting the “Save” button at the bottom of the page, you may save your Visualforce page.
- After saving, click the “Preview” button to obtain a preview of your Visualforce page. This enables you to preview how the page will appear and work.
Pro tip: You have two options for getting to your Visualforce page: you may embed it in a Salesforce Lightning page or a custom application, or you can navigate to it directly by attaching the page’s URL to the URL of your Salesforce instance.
Code
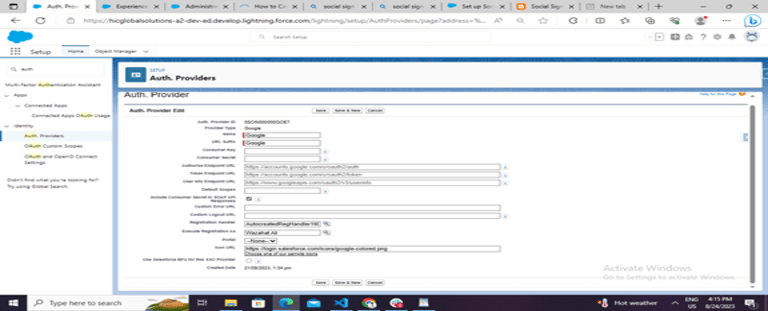
Merge Field:
- A merge field is a field you can put in an email template, mail merge template, custom link, or formula to incorporate values from a record.
- Visualforce pages use the same expression language as formulas—that is, anything inside {! } is evaluated as an expression that can access values from records that are currently in context. For example, you can display the current user’s first name by adding the {!$User.FirstName} merge field to a page.
Here we have used the merge field for {!relatedTo.HIC_ShopifySync__Billing_Customer_Name__c}, you can see in the above code.
Let’s check this merge field:
- Go to Setup and type email template in the quick find box and click Classic Email Templates.
- Click on the new template button.
- For the type of email template option select Visualforce.
- On the template page, we can set the email subject, email template name and the Template Unique Name.
- Select the Recipient Type, in this example, we are going to send the email to contacts
- Select the option Available For Use to make the email template available..
- By using merge fields you can set the Related To Type to the desired object. We have set it to order for this example.
- Click Save
- After saving, click on edit
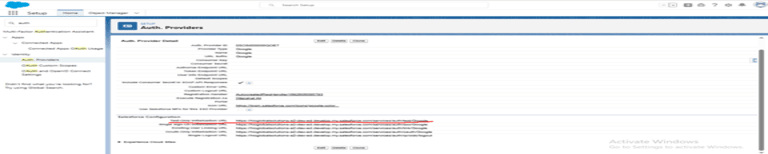
<messaging:emailTemplate subject=”hello” recipientType=”Contact” relatedToType=”Order”>
<messaging:htmlEmailBody >
//code ( copy the above code or you can write your own code)
</messaging:htmlEmailBody>
</messaging:emailTemplate>
- After that, click on save.
- With the ‘Send Test and Verify Merge Field’ button, you can test your merge fields.
- Select “Send Test and Verify Merge Field” next to the email template you want to test. On a window, you can choose from the choices below: “Use these records to preview the template:”
- You can choose a Contact, Lead, or User as the recipient record, and the template will retrieve merge fields like “Contact.FirstName.” However, the Contact, Lead, or User you select in this box will not receive any emails. Associated with Record If your email template pulls data from objects like Accounts, Opportunities, or Order you can choose any record in those objects, and the template will retrieve the record’s merge fields and fill the template with that data.
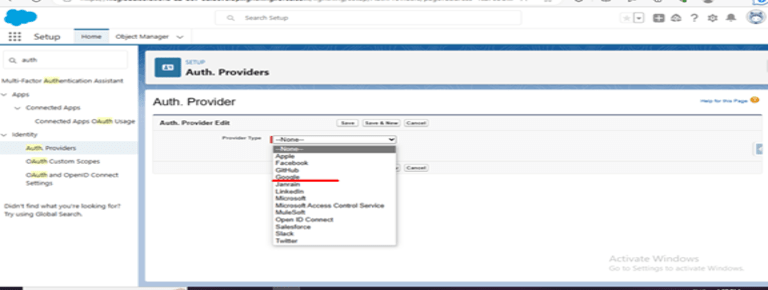
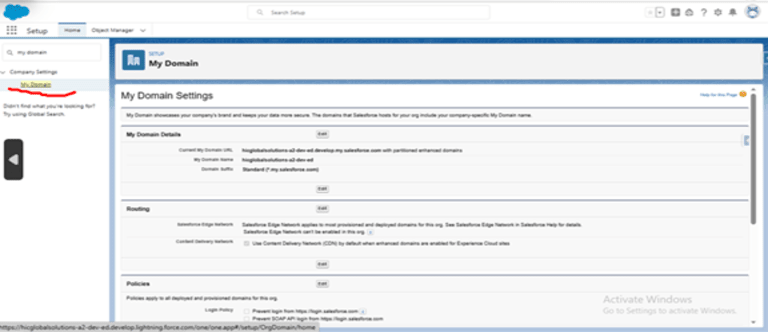
- When the Send email preview to the checkbox is selected and the appropriate email address is entered, an email is generated. Only this option generates a test email, and it is sent to that address only, not the email address listed in the recipient record. To examine how the template appears in different email programs like Outlook, Yahoo, and others, you can repeat this test numerous times with different email recipients.
Pro tip: Recall that the ‘Send Test and Verify Merge Field’ option is only accessible from the Setup | Classic Email Templates menu in both the Salesforce Classic and Lightning user interfaces.
Here we can see merge fields that are dynamic coming from related to the record.
Conclusion:
Overall, VF pages and merge fields are effective features that give developers the ability to design unique, approachable user interfaces for their Salesforce applications.
We hope you enjoyed reading this blog! If you have any thoughts or feedback, we’d love to hear from you. Stay tuned for more exciting content on this topic and beyond. Till then, Keep innovating!





