




Continuing on the second installment of the first blog on how to create and deploy BitBucket in Salesforce, we have arrived again to guide you through the next step of creating Unit class and an LWC component to complete the configuration process.
So, without any delay. Let’s start!
Creating Apex Classes and LWC Components for Deployment
First, we need to Clone the Bitbucket Repository in the local system:
- Go to your Bitbucket repository created in the previous blog.
- Click on Bit Bucket Repo1 and then click on Clone.
- Clone the repo into your local system.
Here we are cloning via Vs Code.
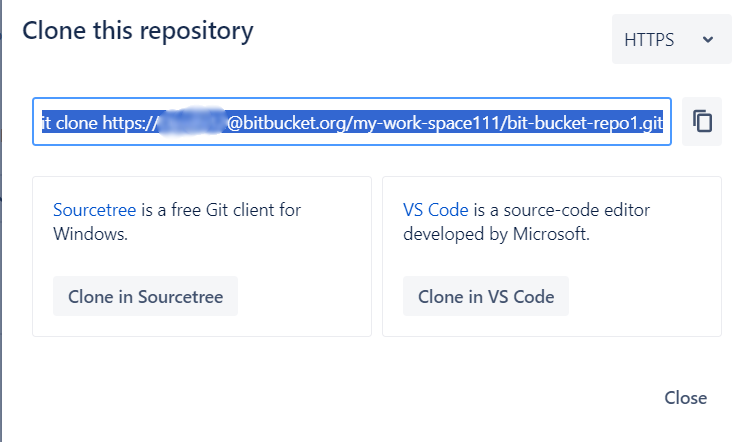
Click on Clone in Vs Code. It will redirect you to your vs code. Click on Clone a New Copy.
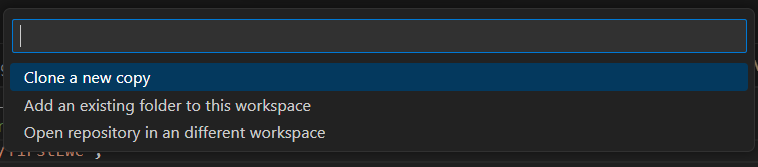
Then give the path to your repo in local system.
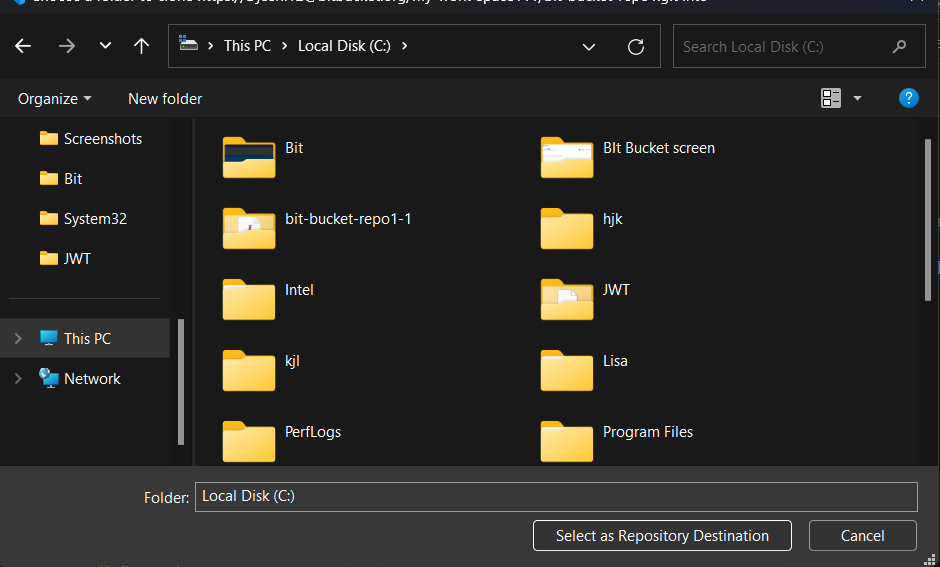
Choose the C directory to save the repo in a local system. Then Click on select as a repository destination.
After selecting the folder you will get a pop-up of git, git will authorize your Bit Bucket account.
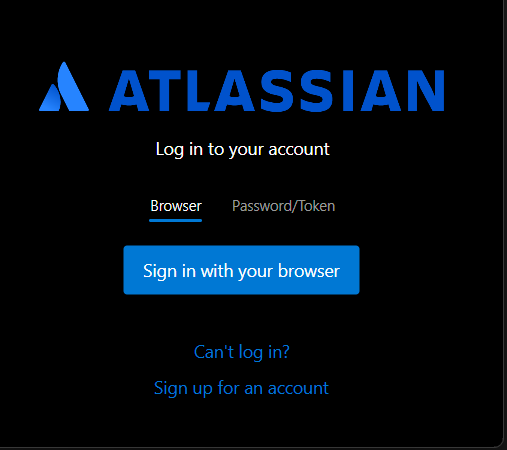
Click on Sign In with your browser.
Make sure it should open in the same browser where you created your Bit Bucket account. Click on grant Access and it will authorize your account.
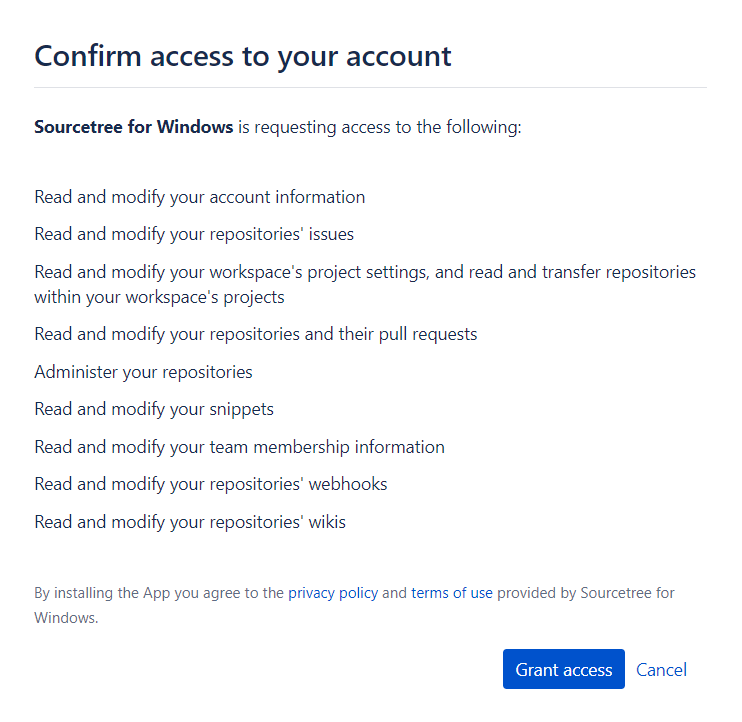
It has created a local repository in C directory with same name of repository.
Create Project for deployment:
- Open your Vs Code.
- Click Ctrl + shift + P. Then select Create Project with Manifest>Standard.
- Enter the name of the project I’m entering First Project.
- Select the C:bit bucket repo1( we have created in previous step )as a path for project. Then click on Create Project.
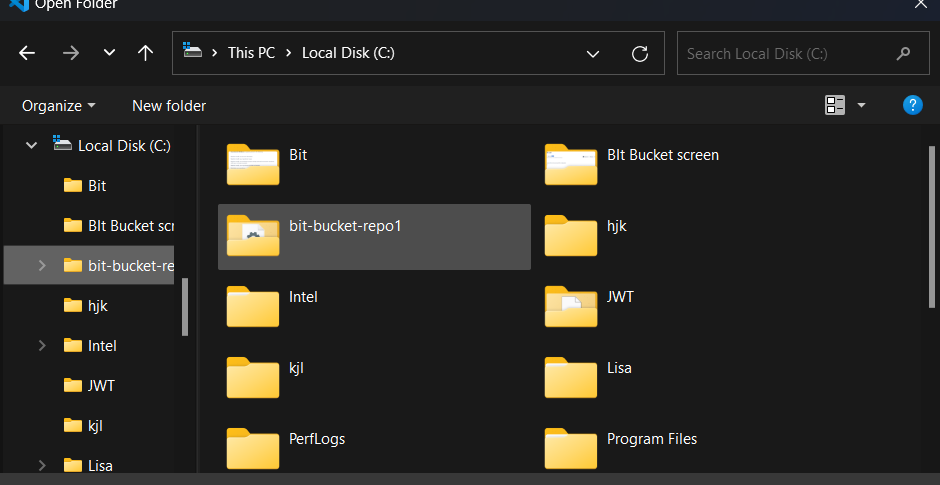
It has created a sfdx project in system.
Authorize the Dev Org:
- Now it’s time to authorize the dev sandbox we have created in step 9 of the previous blog.
- In Vs code click ctrl + shift + P and choose to authorize an org.
- Click on Sandbox, give them any Dev_org, and click enter.
- It will redirect you to a new window and ask for the Username and Password.
- For Username add the production’s Username with the .dev suffix and for the Password enter the same password as the production if you did not change the password.
- For example, if your production username is abc@force.com then your dev username will be abc@force.com.dev
- After successful authorization a small pop-up will be shown in the right bottom corner which will show a successful message.
Creating an LWC component and Apex class with its test class:
Create an Apex class:
- In Vs Code navigate force-app>classes.
- Right-click on the classes folder and click on Create Apex Class.
- For name enter firstApexClass and click enter, for path select force-appmaindefaultclasses.
- Copy this code in the firstApexClass.cls file.
Create Unit test class for above apex class
- In Vs Code navigate force-app>classes.
- Right click on classes folder and click on Create Apex Unit Test Class.
- For name enter firstApexClassTest click enter, for path select force-appmaindefaultclasses.
- Copy this code in firstApexClassTest.cls file.
Create an LWC Component
- In Vs Code navigate force-app>lwc.
- Right click on lwc folder and click on Create Lightning Web Component.
- For name enter firstLwc click enter, for path select force-appmaindefaultlwc.
- Configure firstLwc.html file :
- Copy this html code into your firstLwc.html file.
Create a Configure firstLwc.js file:
- Copy this js code into your firstLwc.js file
- Configure firstLwc.js-meta.xml file:
- Copy this code in firstLwc.js-meta.xml file.
- Configure __tests__ folder file:
- Open your __tests__ folder under firstLwc.
- Open firstLwc.test.js file and comment out “import { createElement } from ‘lwc’”.
- It looks like this:
Commented on this line
- Now deploy components one by one according to their dependency in source org.
- First of all deploy apex class and its test class then deploy LWC components one by one.
- After successful deployment open dev org(source org) and add LWC component in Home page by clicking edit page and dragging firstLwc Component from left custom component section.
- Click on activate. And Refresh the page. Now you will be able to see your component in Home page.
Configure .gitignore file:
- Find .gitignore file in your FirstProject folder.
- Open this file and under “# LWC Vs Code autocomplete” comment paste below line:
It Looks like below:
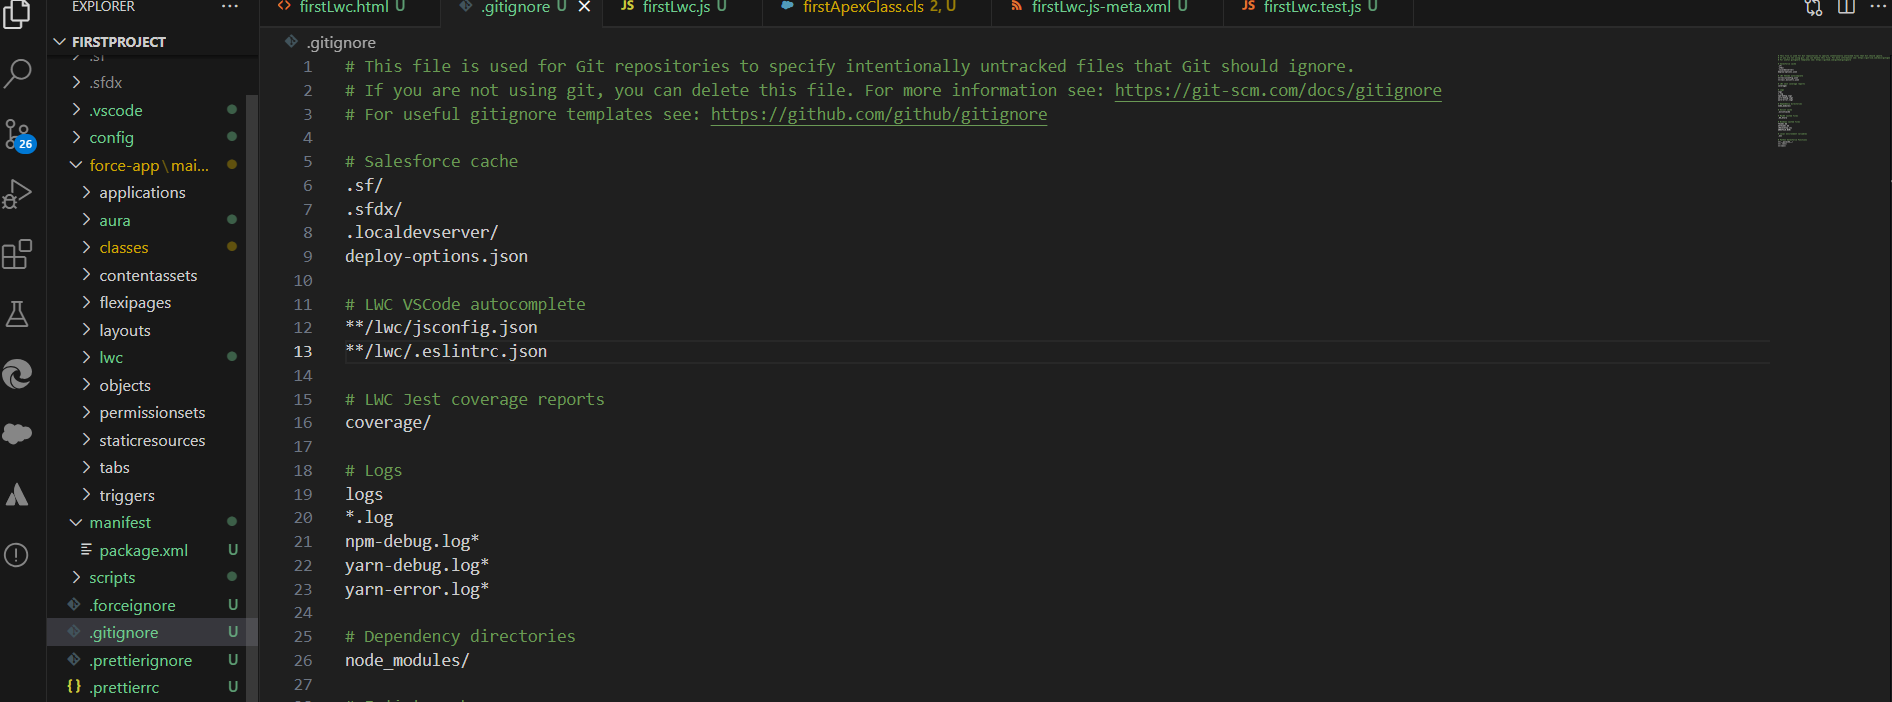
Create package.xml file:
- Right-click on force-appmaindefault then click on New file.
- Enter the file name package.xml
- Paste the below code on this file.
Configure the Bitbucket pipeline file:
- This file is responsible for automating the CI/CD process.
- From File Explorer navigate bitbucket-pipeline file from C:bit-bucket-repo1 folder.
- Select the bitbucket-pipeline file & right-click to open with Vs Code. Then paste the below code.
Create Asset folder to upload server.key.enc and server1.key.enc file in project:
- From file explorer navigate bit-bucket-repo1 folder.
- Open bit-bucket-repo1 folder and create a new folder give name assets.
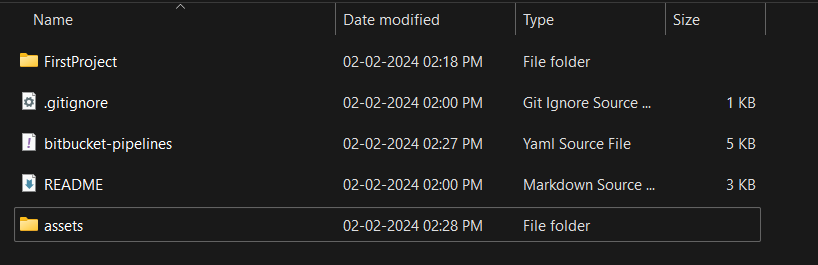
Copy server.key.enc and server1.key.enc file from C:JWT and paste it inside the assets folder.

Wrap Up
That concludes the process of creating Apex classes and LWC Component, deploying each component individually in the source org. In our upcoming blog, we will delve into the intricacies of pushing these changes to the BitBucket repository and deploying them in the production environment.
For a detailed walkthrough of these steps, keep an eye out for our next blog!





