
Lightning Web Components (LWC) is a modern JavaScript framework that is used for building responsive, dynamic applications on the Salesforce platform.
In LWC, data flows from parent-to-child component. Variables marked as @api in the child component are open for a parent to pass values directly into the child’s HTML template, making the component interactable.
To send data back to the parent component, LWC uses custom events. The child fires an event, and the parent listens for it. This enables both the component to remain decoupled while still triggering parent-level logic.
Events in LWC follow the standard DOM pattern. If an event is set with bubbles: true and composed: true, it can travel up to its ancestors without direct connections. This is useful for handling actions in deeply nested component hierarchies.
Styling in LWC is scoped at the component level, meaning styles in a component’s .css file will stay with that component and won’t affect its child component or any other component. These encapsulation styles are modular and easy to maintain.
While SLDS (Salesforce Lightning Design System) can be used for consistency and styling, custom CSS is many times necessary when building unique UIs. In this blog, we’ll walk you through a hands-on guide to fetch, display, and style records from any object.
Objective:
Guide Salesforce developers in effortlessly integrating multiple concepts into Lightning Web Components.
- Beginner-friendly walkthrough
- Clear explanation of LWC communication
- Event bubbling mechanics
- UI/UX uplift with dynamic interactions
- Encouraging deep dives for customized solutions
Back & Forth – the Rollercoaster Ride: Parent-Child Communication in LWC & Vice Versa
In the world where LWC is used, the parent component is like an elder person, all-knowing, passing down knowledge (literally) to its children. This is done by properties marked with @api. It’s like:
“Hey boy, take this Name = “Tony Stark” and do something cool with it.”
The child component takes that data and uses it for its own, just like a kid showing off his cool new toy at school.
But hey, children might have something to say! Maybe the child wants to shout:
“MOM! I clicked the button!”
That’s where custom events kick in. The child dispatches an event (this.dispatchEvent(…)), and the parent is all ears:
<c-advance-field-selector onspinnerfunctionactive={handleSpinnerActive}></c-advance-field-selector>
It’s the web version of “Mom, watch this!” — and the parent listens to them.
What is Event Bubbling?
Now imagine there’s a whole extended family tree (grandparents, aunts… nested components). If an event is marked as bubbles: true and composed: true, it goes up through generations. This means your knowledge can move inside the tree can alert the entire family dinner table.
“Grandma! I have changed the value again!”
And Grandma can respond accordingly.
So, whether you’re passing wisdom down the line or the young one shouting exciting updates to their parents, LWC’s component communication is all about making sure that the family is connected and up to date
Example Scenario
Let’s say you’re tired of changing between different objects just to fetch records in your Salesforce org. One moment you’re looking at Leads, next it’s Opportunities, and I haven’t said anything about custom objects.
So, you decide to build a universal viewer component that will:
- Allow you to dynamically select any standard or custom object from your org.
- Let you choose fields dynamically.
- Fetch and display the selected fields as records in a table or card view.
- Have a responsive, user-friendly UI with SLDS and/or custom styles so that it works beautifully on desktop and mobile.
Step-by-Step Guide: Lightning Map LWC Example
First, let’s create a new Lightning Web Component called advanceDataFetcher, advanceFieldSelector, and recordTableViewer in Visual Studio Code. additionally you have to create an apex class as well, let’s name it GetDataAll
Step 1: Open VS Code and create a new component:
sfdx force:lightning:component:create –type lwc -n advanceDataFetcher -d force-app/main/default/lwc
First, we will set up our Apex class.
This is the apex code that will be required.
Step 2: Open the newly created advanceDataFetcher component folder. You will be working with multiple files: advanceDataFetcher.html, advanceDataFetcher.js, and advanceDataFetcher.css
Your component is ready.
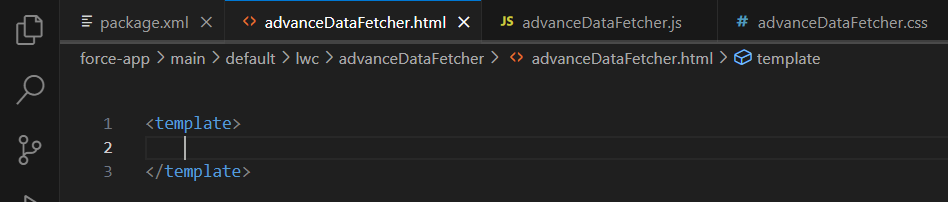
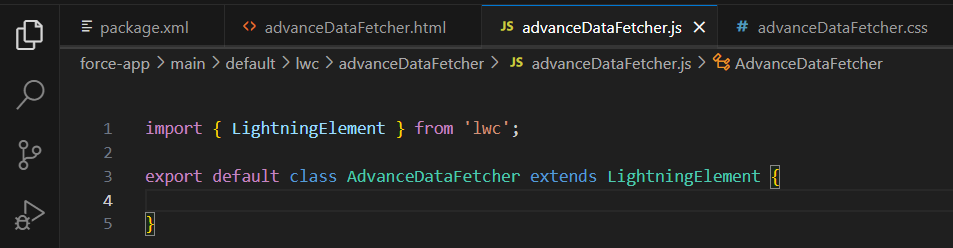
And for the CSS, you have to manually create it, inside the component folder, with the same name.
Step 3: Let’s start with the basics, i.e., creating the combobox and calling the child component into the advanceDataFetcher Component.
Step 4: Let’s try some JavaScript, and then CSS. Here, we will provide a static location to check if the marker is being placed on the map according to our data or not.
Let’s focus on this for now. We’ll will guide you about the style later on, and with that, let’s come to the child component, advanceFieldSelector.
Step 5: In the advanceFieldSelector add the HTML and JS code as follows.
HTML
JS
Step 6: Now, for the recordTableViewer.
HTML
JS
Step 7: With all this, you might have noticed some of the CSS names that I’ve used, so before I provide the CSS, let’s see how this will look.
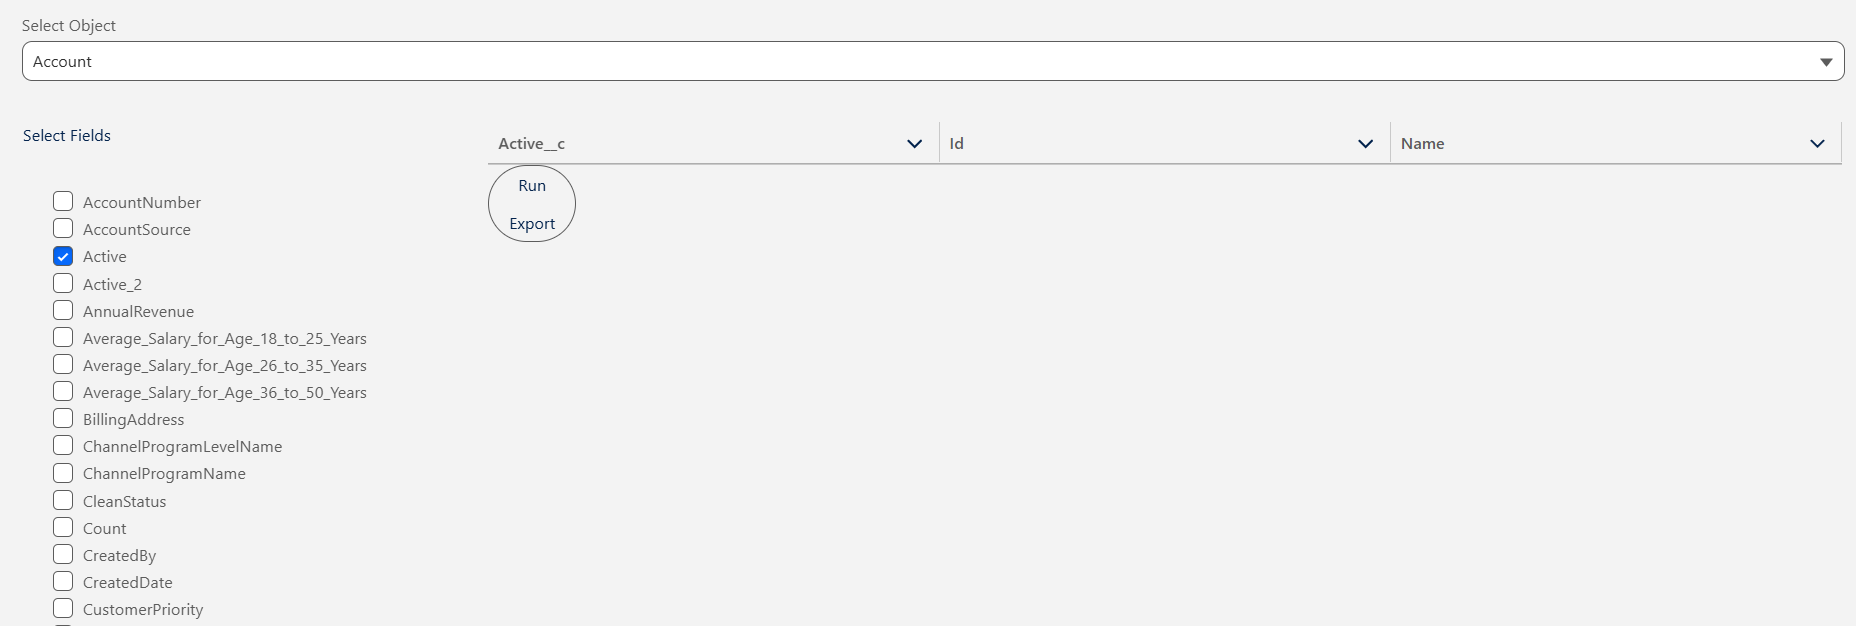
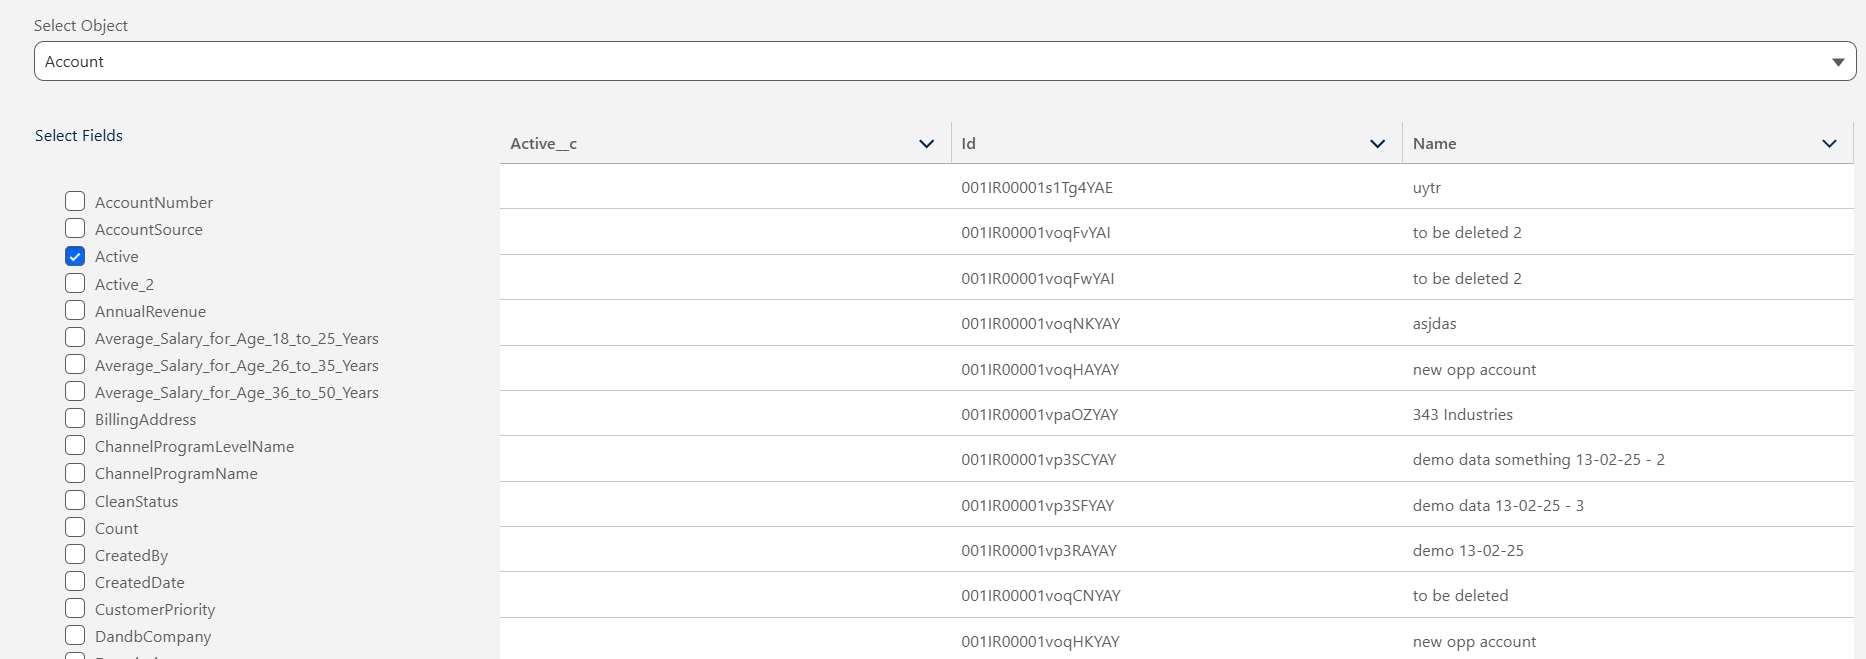
Looks like a mess! And not a good one, so let’s fix this component by component. And, with each code snippet, I’ll show you the result.
AdvanceDataFetcher.css
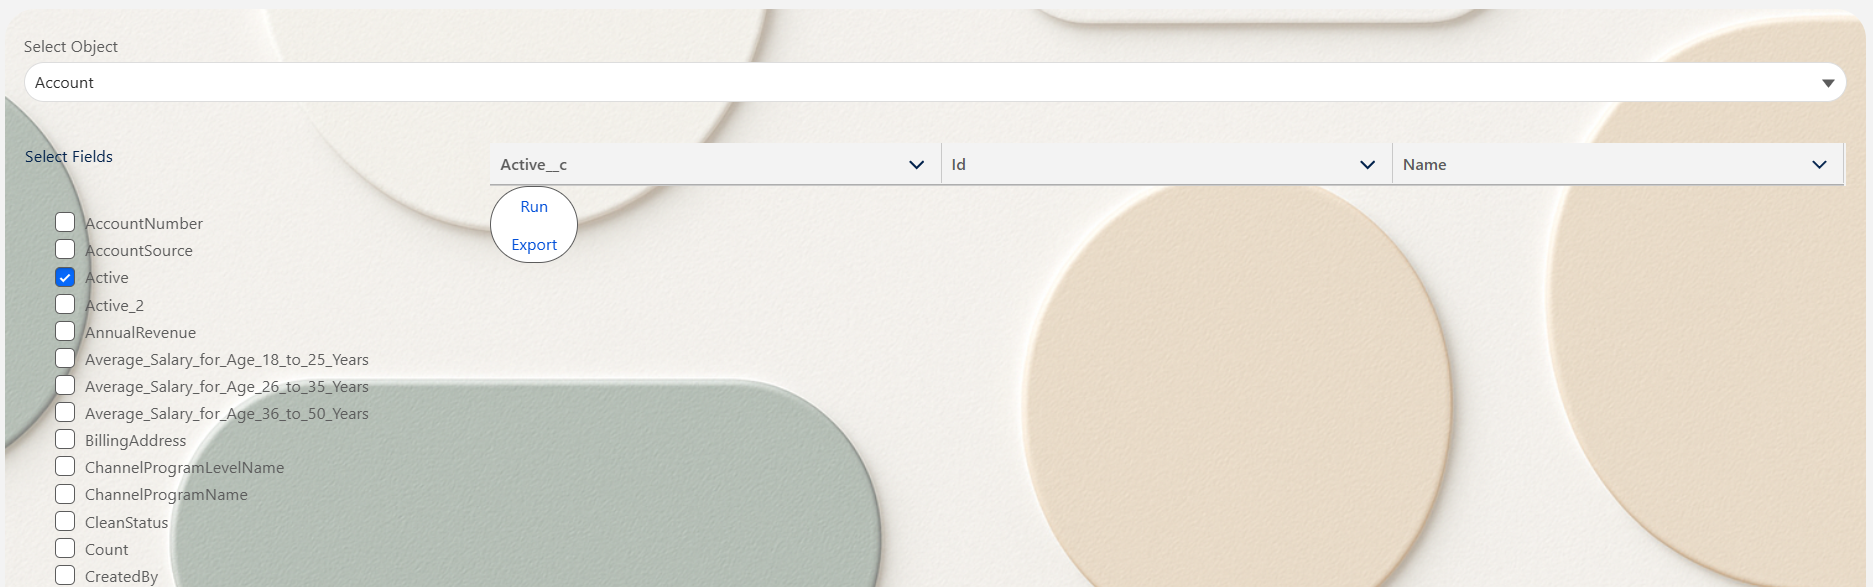
Looks okay, but not so great. Why that long list of checkboxes? Do we have to scroll through the entire component? Oh nope. Let’s fix that as well.
AdvanceFieldSelector.css
Let’s see now.
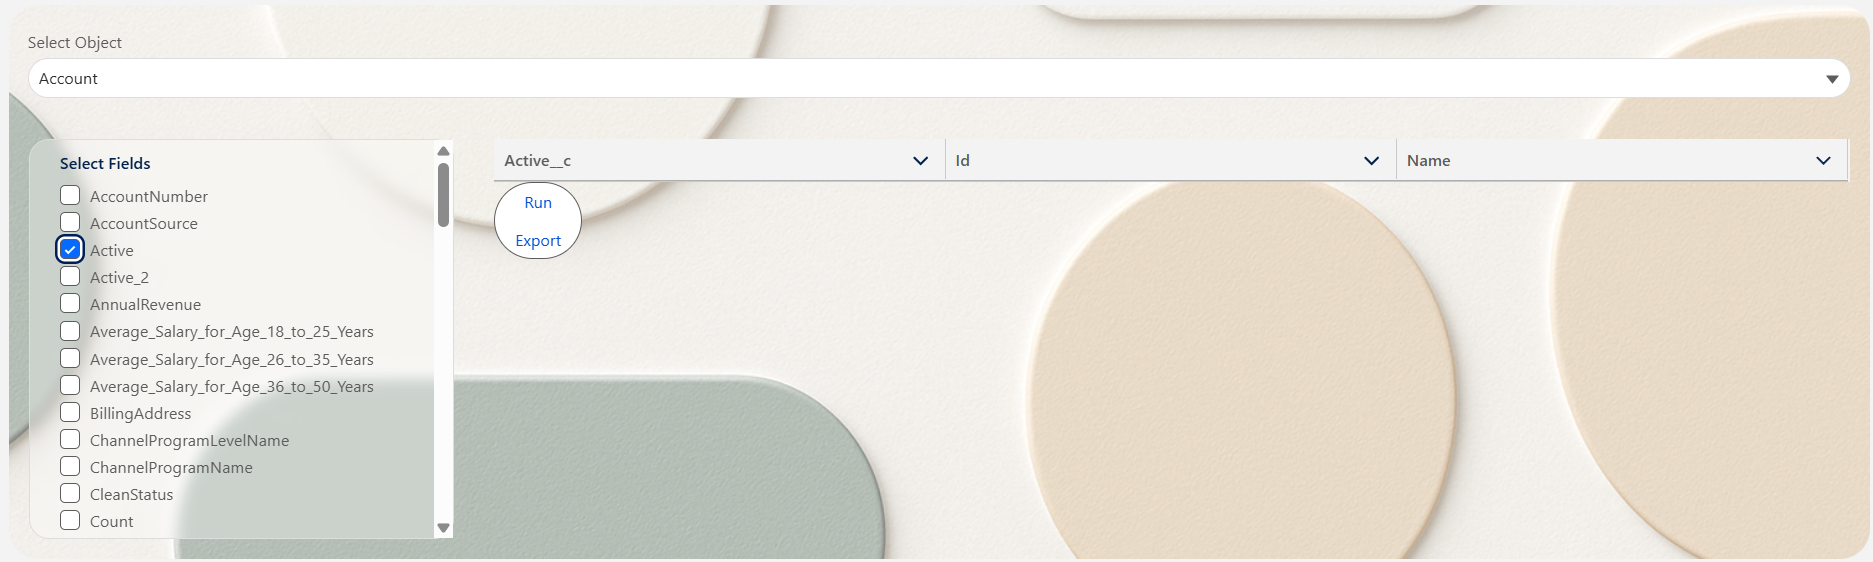
A little bit of frosty glass effect is always better than no frosty glass effect, but the last component still isn’t right. So let’s work on it
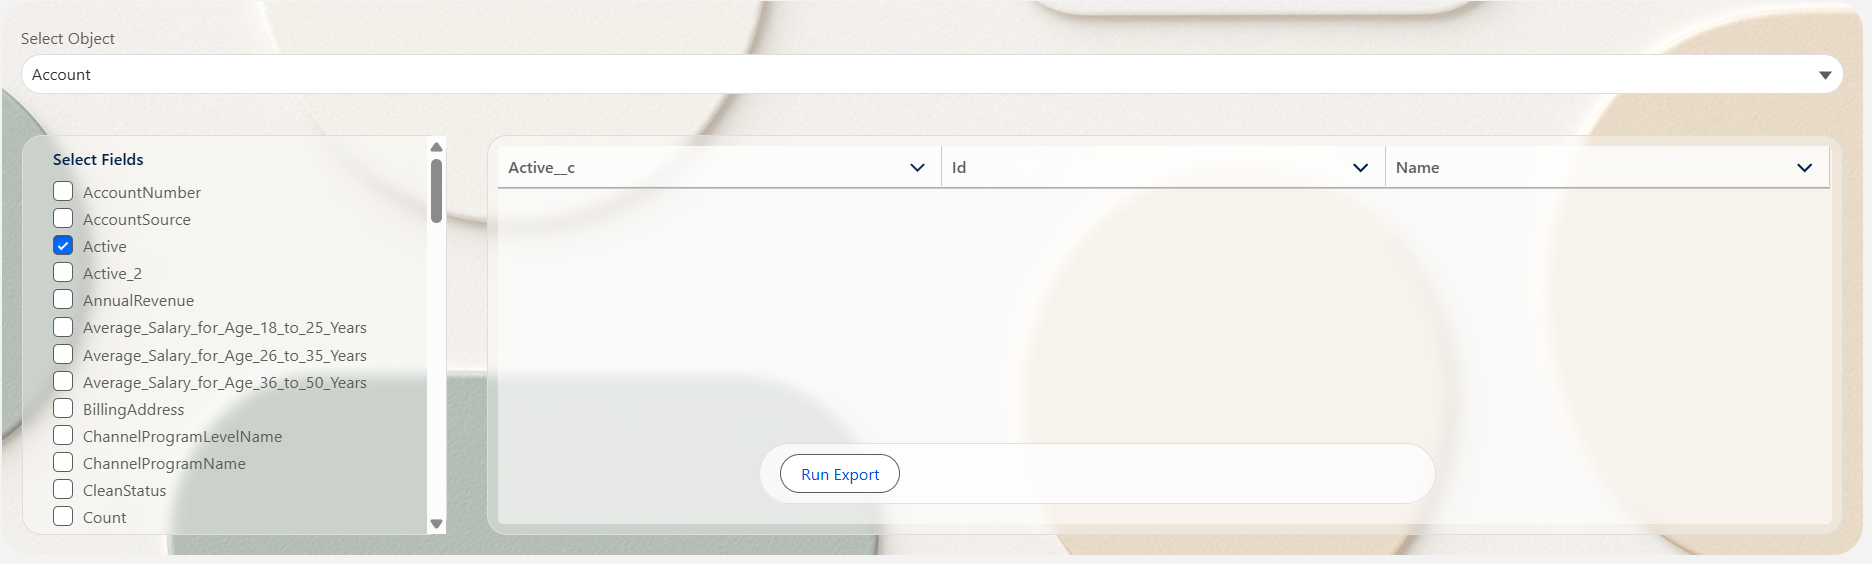
recordTableViewer.css
And, the result looks simple, sleek, and stylish.
And with records, it’ll look like this.
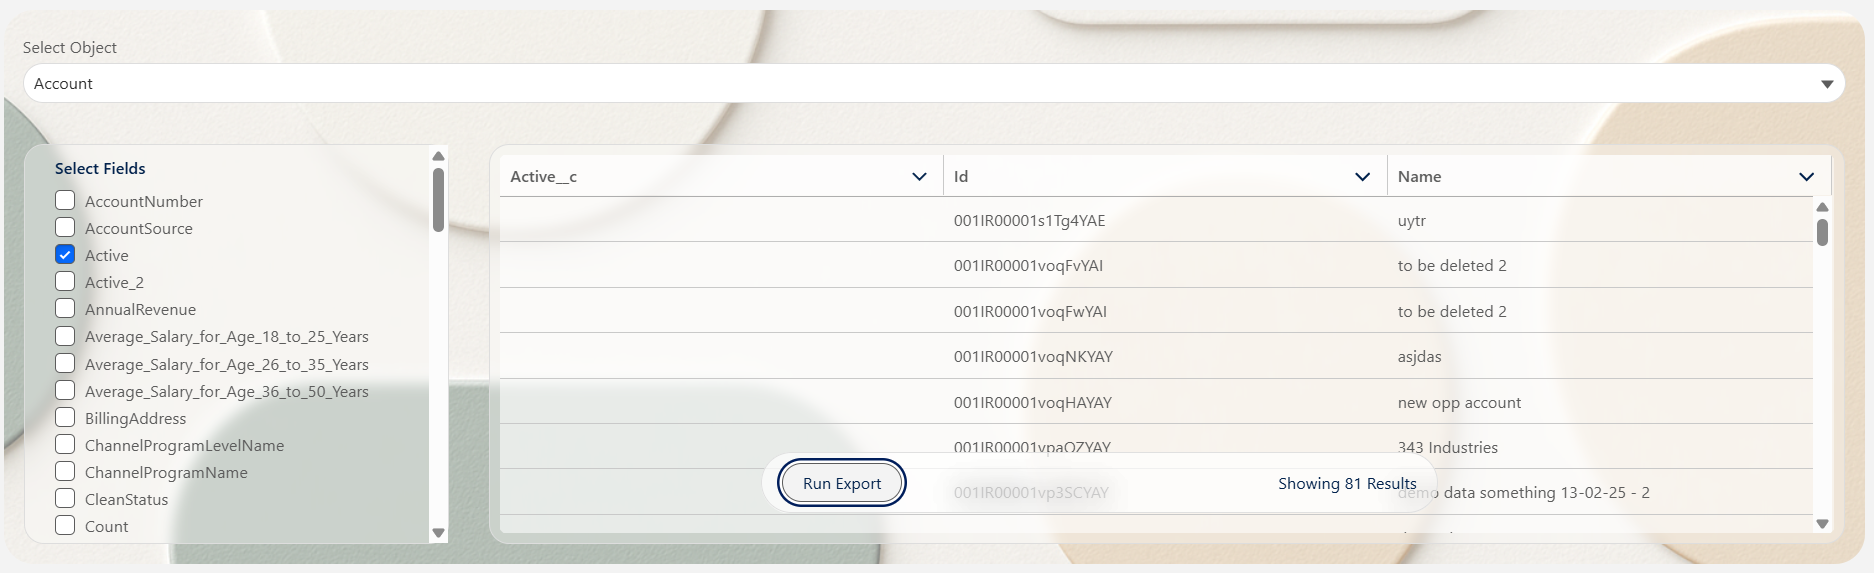
Unleash Your Data Power
Whether it’s a new Lightning App Page or one-upping your existing components, just drop the advanceDataFetcher component, customize its attributes to match your exact use case, and BOOM, your data is served with clarity and style.
But wait; there’s more.
You can even tailor it for record-level! Just pass in a recordIdID, and the component fetches only the related records for that context with minor changes in the backend. Perfect for dropping it into a record page, making your UI smarter and more user-centric.
Check out the live link:
https://hicdemo-dev-ed.my.salesforce-sites.com/lightningRecordViewer
Conclusion
Understanding the capabilities of parent-to-child, child-to-parent, custom event dispatching, event bubbling, and styling empowers you to build smarter, cleaner, and more dynamic Salesforce applications.
Each concept opens up new ways to structure communication between components, optimize user experience, and enhance maintainability.
As you continue developing and refining your Salesforce app, knowing when and how to apply these techniques adds a whole new dimension to how you visualize, interact with, and control data within your org.
So don’t just build; build with purpose. Choose the right approach for the right situation, and you’ll turn your LWC playground into a powerhouse.