




Dell Boomi is an integration platform in the cloud that helps connect and integrate business processes. The platform quickens the transfer of data between systems, people, and apps and aids companies in moving more quickly and effectively, reducing development time and costs. Boomi’s integration with Salesforce makes work smarter and more efficient from the get-go. Boomi’s cloud-first architecture and low-code technology ensure your DevOps team is productive from day one of deployment and helps to reduce the cost and effort of creating custom codes from scratch.
So, if you are looking to integrate Dell Boomi with Salesforce, below are the steps to do so. Have a look!
Dell Boomi Features
Before we move on to the Dell Boomi -Salesforce integration steps, lets us take a peep into Dell Boomi’s key features

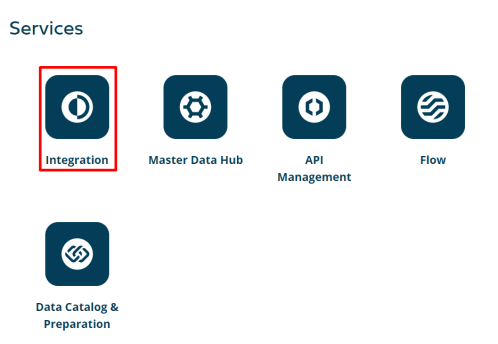
- Boomi Integration
All of your application integration procedures – between cloud platforms, software-as-a-service apps, and on-premise systems – are supported by the Boomi Integration platform as a service (iPaaS).
- Master Data Hub
Boomi Master Data Hub provides a way to describe data that regularly interact with organizations, allowing data to be modeled, synchronized, matched, enhanced, and cleaned across domains.
- API Management
All of your APIs can be managed by Boomi API Management on a single, scalable platform during their full lifecycle. It offers a centralized online environment where APIs may be created, deployed, and managed for use across many business functions.
- Boomi Flow
Boomi Flow is a low-code development platform for building customer journeys and simple procedures to effectively run the business. It enables users to design, set up, and control the tenant’s workflow. Users can create the flow using the drag-and-drop interface of the flow canvas before publishing it.
Steps involved in Dell Boomi-Salesforce Integration
Step 2: Create a new process and edit the Start Process shape.
- Select the Salesforce connector and action you want.

- Create a new connection and operation using the + icon.
Connection
- Enter your end-point URL.
- Insert your organization ID and password.
- Save the connection.

Operation
- Using the import button, import which objects you want from salesforce.org.
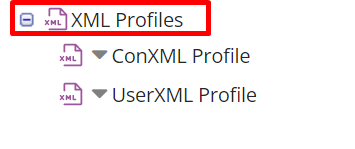
Response profiles are automatically created after selecting an entity (object).

The response profile stores your object data.
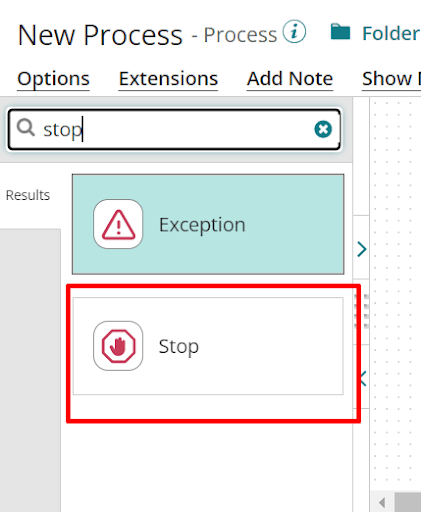
Step 3: Add a stop shape to your process using drag and drop.
Step 4: Execute your process using the test button.
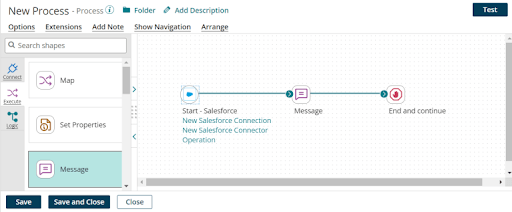
You obtained your data in this manner.
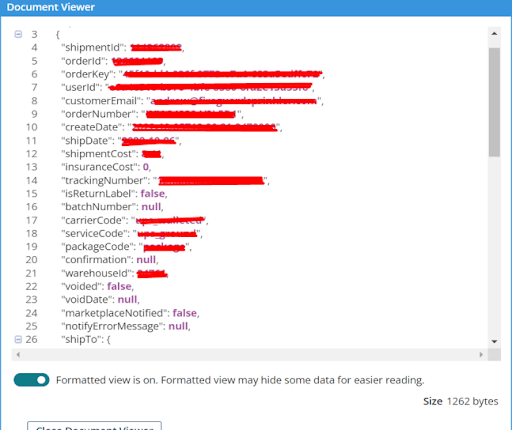
Using Dell Boomi’s various features, you can manipulate your data according to your requirements.
Wrap Up
There you have it! A complete guide on DellBoomi -Salesforce integration to improve operational efficiency and lower cost. If you liked the tutorial, feel free to share your suggestions with us. Also, stay in touch to get your hands on more such interesting Salesforce development solutions coming soon. Happy Learning!





