




Beginning February 01, 2022, all Salesforce users must use Multi-Factor Authentication (MFA) if they want to access Salesforce products. MFA acts as an extra layer of security that protects your data from threats like phishing attacks. Thus, helping you in keeping your business’ and customers’ sensitive data safe.
If you’re willing to know more about MFA in Salesforce, you can read my article published on Salesforce Ben.

When Are Users Prompted for Multi-Factor Authentication?
When you enable MFA, you’ll be required to provide multiple factors every time you log in. You can set up this requirement for user interface logins, API logins, or both.
To step up security, even more, you can add an MFA requirement for additional circumstances:
- When users access a connected app, dashboard, or report. This process is known as step-up or high-assurance authentication.
- During a custom login flow or within a custom app.
Steps for Implementing MFA Using Salesforce Authenticator App
Prerequisites
- Salesforce Trailhead playground or Developer Edition account
- Salesforce Authenticator application (supported on both Android & IOS)
Step 1: Login into your Salesforce account
Step 2: On the setup page, search “Permission Set.”
Step 3: Click the “New” button to create a new permission set for the user and enter the label name. The API name will automatically generate, then click the “Save” button.

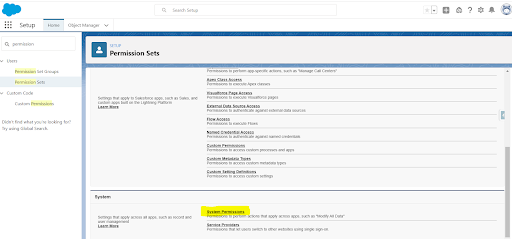
Step 4: After saving, scroll down and click “System Permissions” under the system section in the created permission set. Then click the “Edit” button.
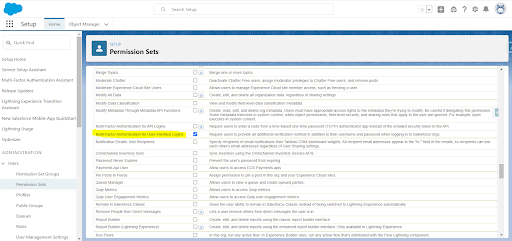
Step 5: Scroll down or search “Multi-Factor Authentication for User Interface Logins” and enable the check box. To save the update, click the “Save” button.
Step 6: Click the “Manage Assignments” button and then click the “Add Assignments” button to add users.
Step 7: Select the user to enable two-factor authentication, then click the “Assign” button.
Step 8: Click the “Done” button and activate the created permission set.
Step 9: Log out of your Salesforce account.
Step 10: Download and install the “Salesforce Authenticator” application from your mobile device’s app.

Step 11: Open the “Salesforce Authenticator” app and click “Add an Account.”

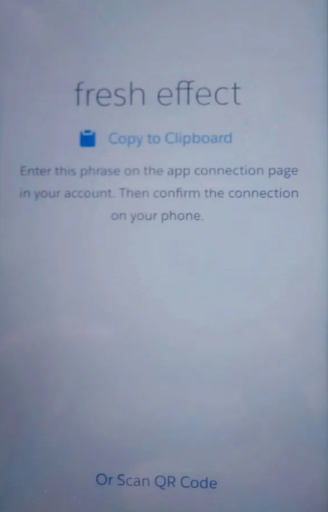
Step 12: On your mobile device, the app displays a two-word phrase authenticator. Hold that word on your mobile device.
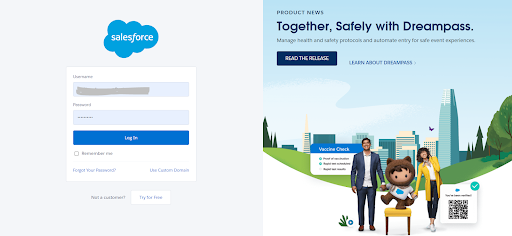
Step 13: Log in to the Salesforce account that created the permission set.
Step 14: After clicking on the login button, the “Connect Salesforce Authenticator” page will be opened. Enter the two-word phrase from the Salesforce Authenticator application and then click the “Connect” button.

- And also salesforce provide other verification methods

Step 15: Now, check your Salesforce Authenticator app; it will prompt you to connect with the authenticator. Click on the “Connect” button.
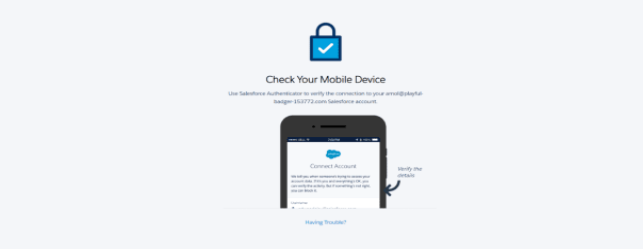
Step 16: Your mobile device now displays your username and service name. Check the details after clicking the “Connect” button on your mobile device.
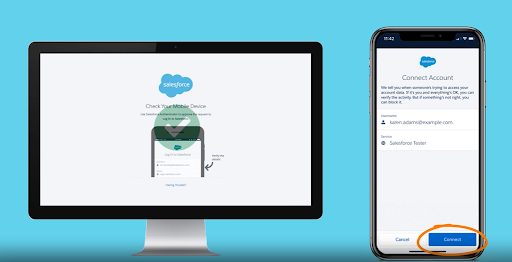
Step 17: If successfully connected, you’ll be automatically redirected to your Salesforce account’s main page. You can log out of this session to test your multi-factor authentication.
Step 18: Again, enter your login credentials and then click the “Login” button. If Salesforce Authenticator app, approve this salesforce org using “Approve” button. It will automatically redirect to the salesforce main page.
Conclusion
So, now, you know how to implement MFA in Salesforce. You need to know this implementation as February 1, 2022, is just around the corner. If you need further help or assistance, contact us so that our experts can help you. If you try out our solution, then do share your experiences with us. Till then, happy learning! 🙂





