




To create your records using flow in Salesforce, first, you need to know what a Salesforce flow is. A Salesforce flow is an automation tool that helps you perform several tasks such as sending an Email, Posting a chatter, Sending custom Notifications, and more. Also, you can trigger the flow for inserting records, deleting records, and updating records. It can also be used to run before and after events.
Furthermore, you can use flow to build complex business automation using clicks instead of code.
Steps
1. Create a new Custom Object
We will create a new custom object called Pay Points (Pay_Points__c).
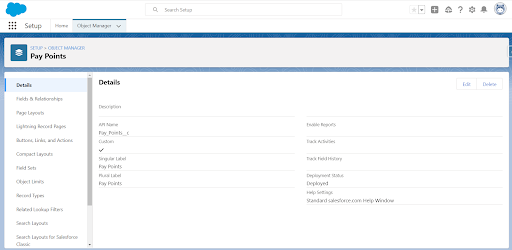
2. Create new Pay Points fields
Starting with the Pay Points object we create new fields called Date (Date__c) and Sales Amount (Sales_Amount__c).
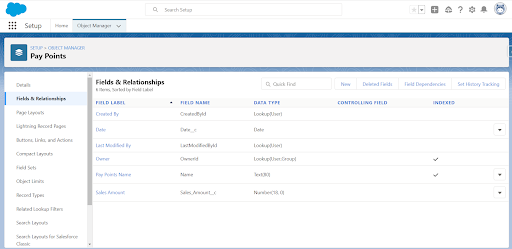
3. Create a new customer object tab
From Setup, enter “Tabs” into the Quick Find box, then select Tabs, and click New.
Select the Pay Points in the Object field, and choose a random style in Tab Style, then click Next, again Next, and hit Save.
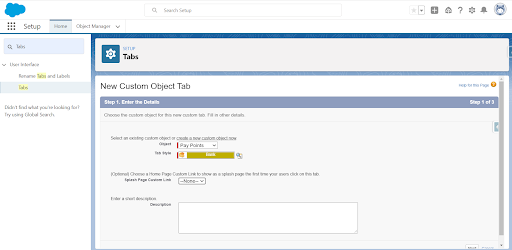
4. Select Flows
From Setup, enter “Flows” into the Quick Find box, select Flows, and then click New Flow.
Select the Flow type = Screen Flow, then click Next.
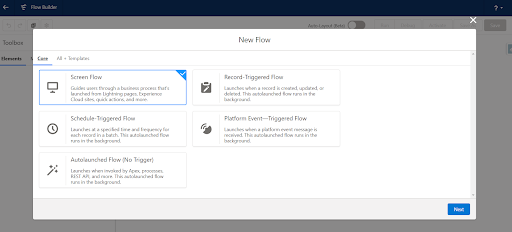
Select Freeform
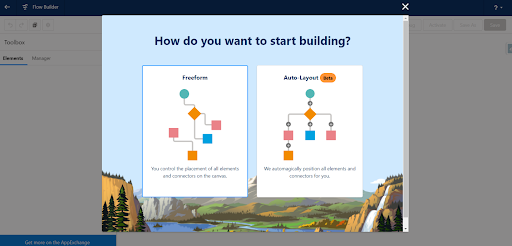
Then, it will redirect you to Flow Builder
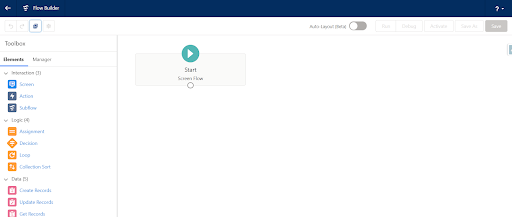
6. Now drag Screen from the Elements (Left side toolbox) onto the canvas.
Search the text field in Components and drag it onto the Screen and give Label name = Name.
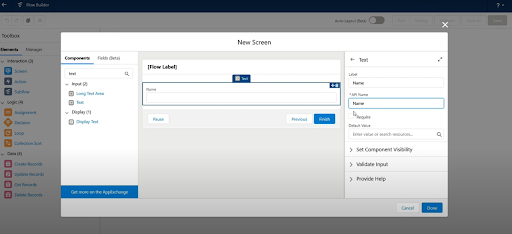
Search number field in Components and drag onto the Screen and give Label name = Sales Amount.
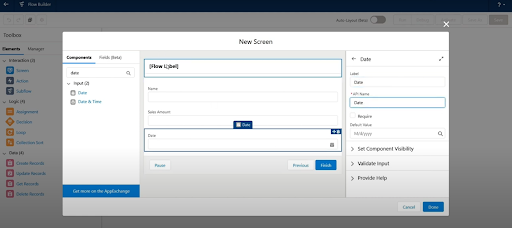
Search date field in Components and drag onto the Screen and give Label name = Date.
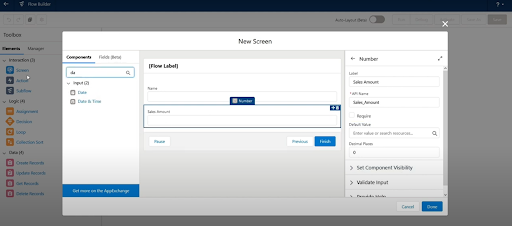
Fill Screen Label name = Create Pay Points. And click on Done.
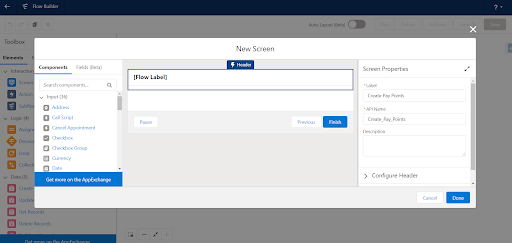
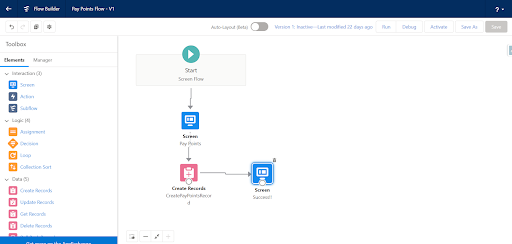
Connect Start to Screen by a tag line by drag and drop.
7. Now drag Create Records from the Elements (Left side toolbox) onto the canvas. Fill Label name = CreatePayPointsRecord.
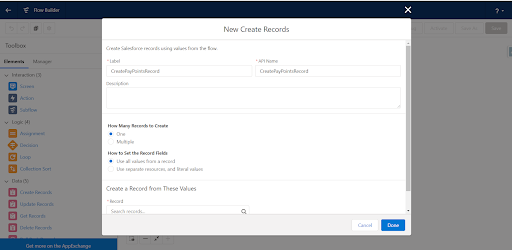
8. Select Object = Pay Points and set Field and Values. And click on Done.
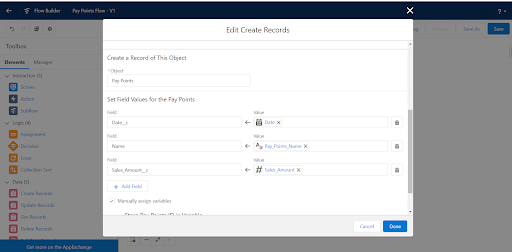
Connect Screen to Create Records by a tag line by drag and drop.
Drag Screen from the Elements (Left side toolbox) onto the canvas. Fill Label field = SuccessMessage.
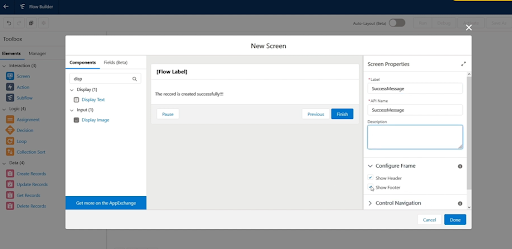
9. Search display field in Components and drag onto the Screen and give Label name = Success. And add the message “The record is created successfully!!”
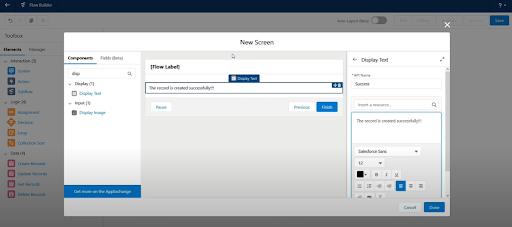
10. Connect Create Records Screen by a tag line by drag and drop.
Now click on Done, and your flow will look like this:
11. Save the flow and give the ‘Pay Points Flow’ name to the Flow Label. And activate the flow.

12. Click on Run to run a flow.
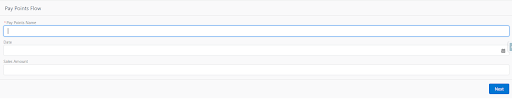
13. Fill in the fields to create a record and click on Next.
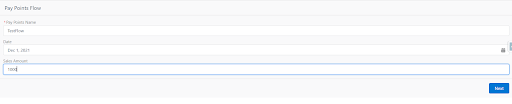
14. The record is saved successfully.

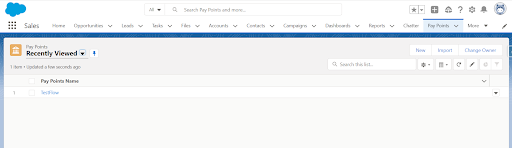
15. Now, check this record in the Pay Points tab.
Conclusion
So, there you have it! The perfect solution that allows you to create records using flow in Salesforce. Do let us know how you find this solution. If you try this out, then do share your experiences with us. We will be back with another solution next week. Till then, happy learning!





