

When it comes to Salesforce development, efficiently managing and deploying metadata is important to maintain streamlined operations.
With the help of Unlocked Package, you can easily achieve this. It is specially designed for business’s internal use and allows businesses to develop and manage modular applications.
This blog will walk you through the importance of Unlocked Packages, from initial setup to final installation.
About Unlocked Package
Salesforce’s packaging and deployment framework has a component called “Unlocked Package” that develops flexible Salesforce applications.
Unlock Package add, edit, and remove the metadata in the Salesforce Org that can be easily tracked. Additionally, you can install Unlock Packages on a wide range of organizations and accordingly update your Salesforce apps faster than ever.
How to Create an Unlock Package
First, we have to take over the pull of source org into a VS code.
After that follow these steps:
Step 1:
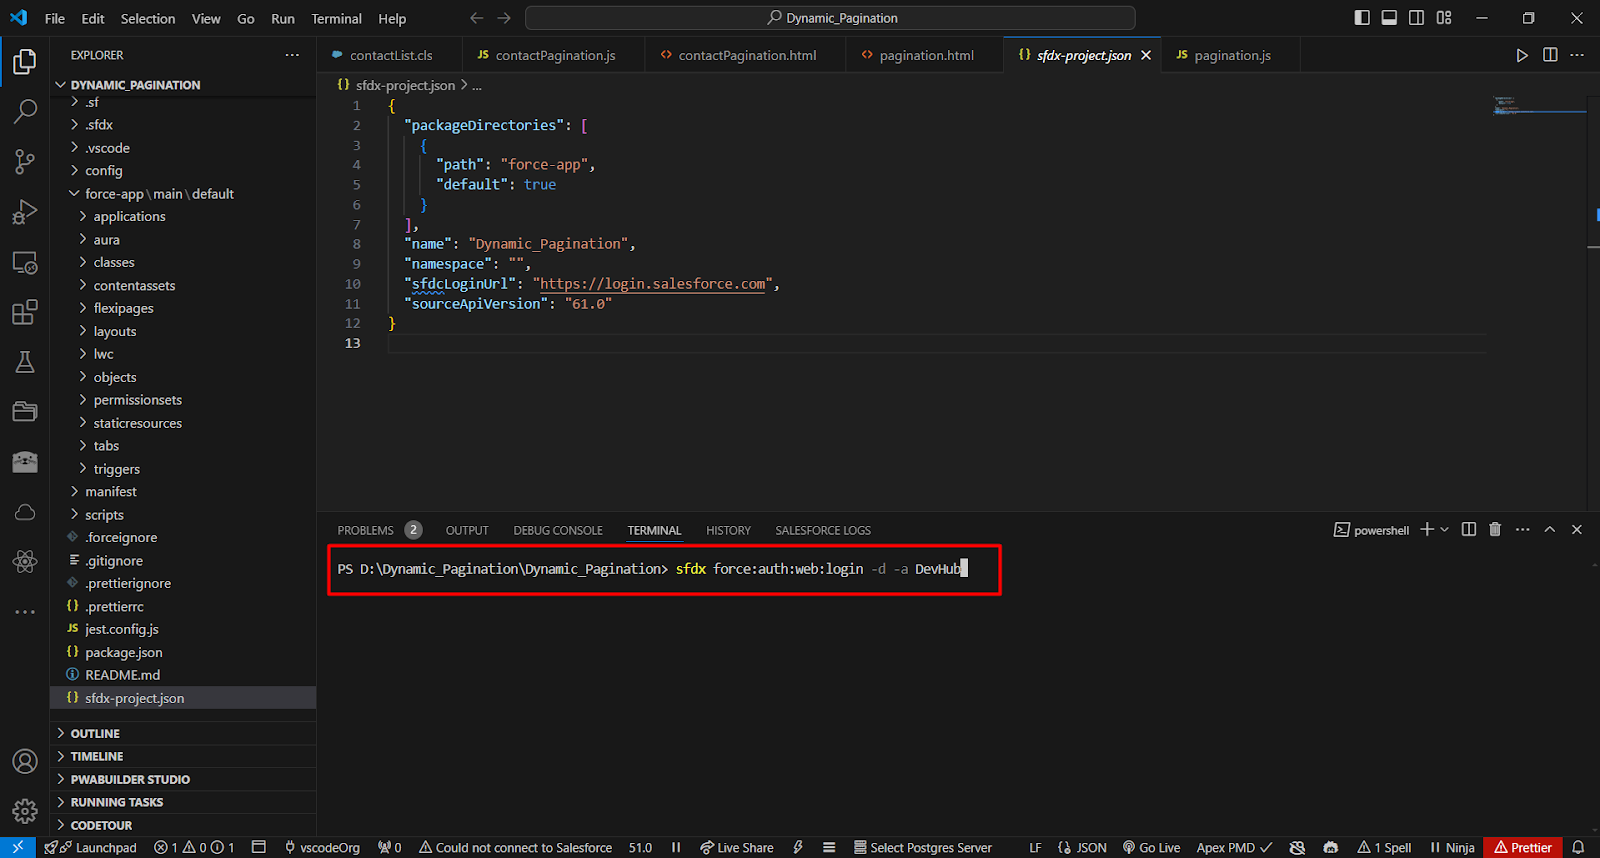
Login as DevHub from the Vs code terminal.
Execute this command in your terminal: sfdx force:auth:web: login -d -a DevHub
Step 2:
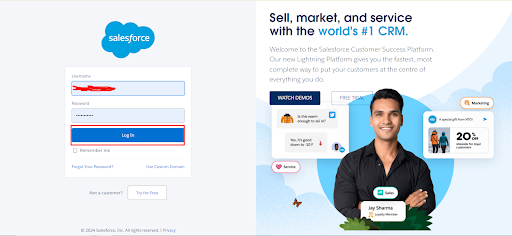
Now it will redirect you to the Salesforce login page. Enter your Username & Password and then click on the login.
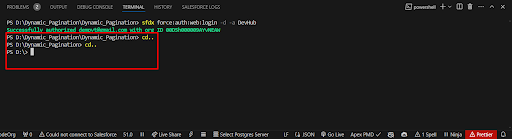
After authorizing the salesforce org it will show you this success message in your terminal.
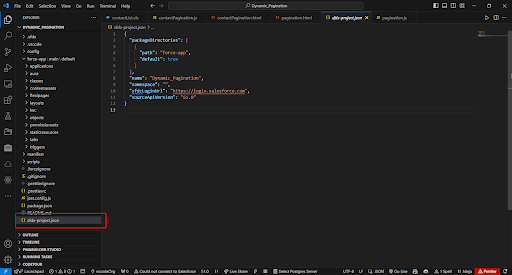
Now open your sfdx-project.json and it will look like this. 👇
Step 4:
Moving forward, we have to create a package using the sfdx command.
Command:
sfdx force:package:create –name testunlocked –description “testunlocked package” –packagetype Unlocked –path force-app –nonamespace –targetdevhubusername DevHub
In this, testunlocked is the package name.
Unlocked is packagetype
Path is force-app
and targetdevhubname is DevHub
Now run this command into your terminal, after running this command it will give the Package ID.

Step 5:
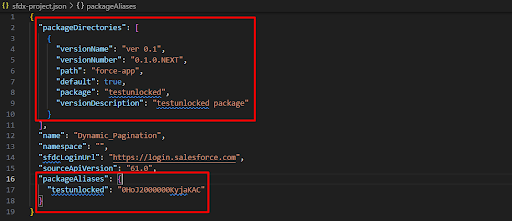
After running the command your sfdx-project.json file will look like this.
Step 6:
Now we have to create package versions for our package.
for that, we have to run a version command into our terminal.
Command:
sfdx force:package:version: create -p testunlocked -d force-app -k test1234 –wait 10 -v DevHub –codecoverage
In this, testunlocked is the package name
test1234 is the secret key
Now execute that command into your vs code terminal.

After running the command it will give the package URL link.


Step 7:
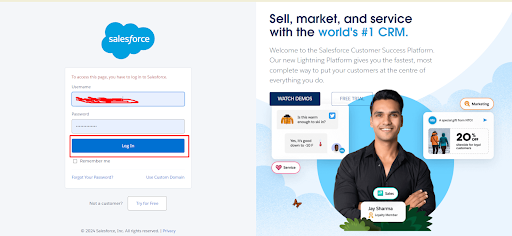
Now it will redirect you to the Salesforce login page. Here we are to sign in from the creds where we want to install that package.
Step 8:
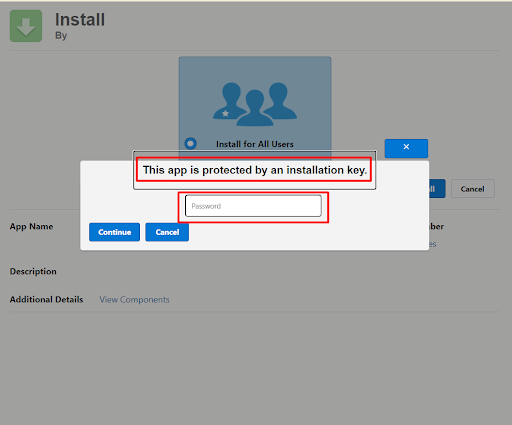
Here it will ask for the password which we have defined in our command as key “test1234”.
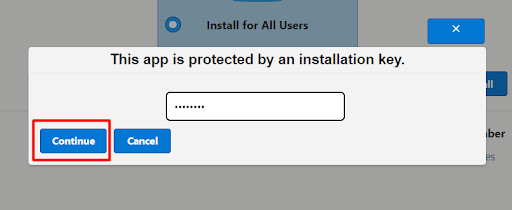
After applying the password click on the Continue button.
Step 9:
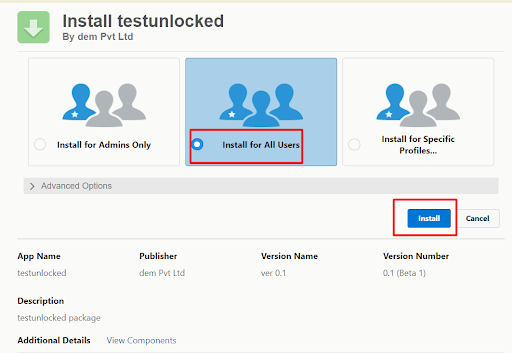
Now select the Install for All User option and click on the Install button.
Step 10:
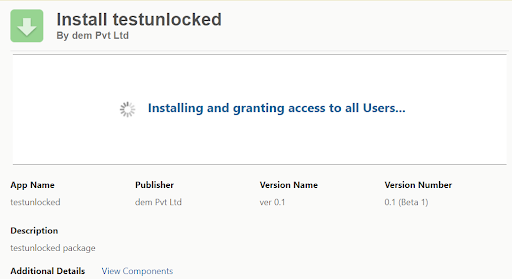
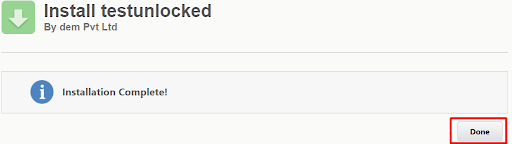
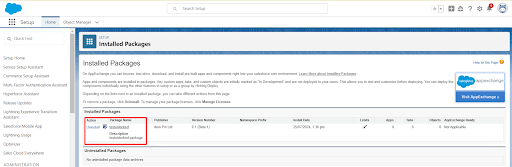
Now after taking some time, it will installed into your org. You can check it to go in the Installed Package and see our installed package.
Conclusion
Using the Unlocked Package we can share our functionality with multiple org and we can upgrade your salesforce apps in the easiest and simplest. The main purpose of the unlock package is for internal business apps.
In other words, with Unlocked Packages, you can boost your business process, streamline deployments, and more.
Stay tuned to gain more valuable insights.





